The Beginning: Planning & Simmering
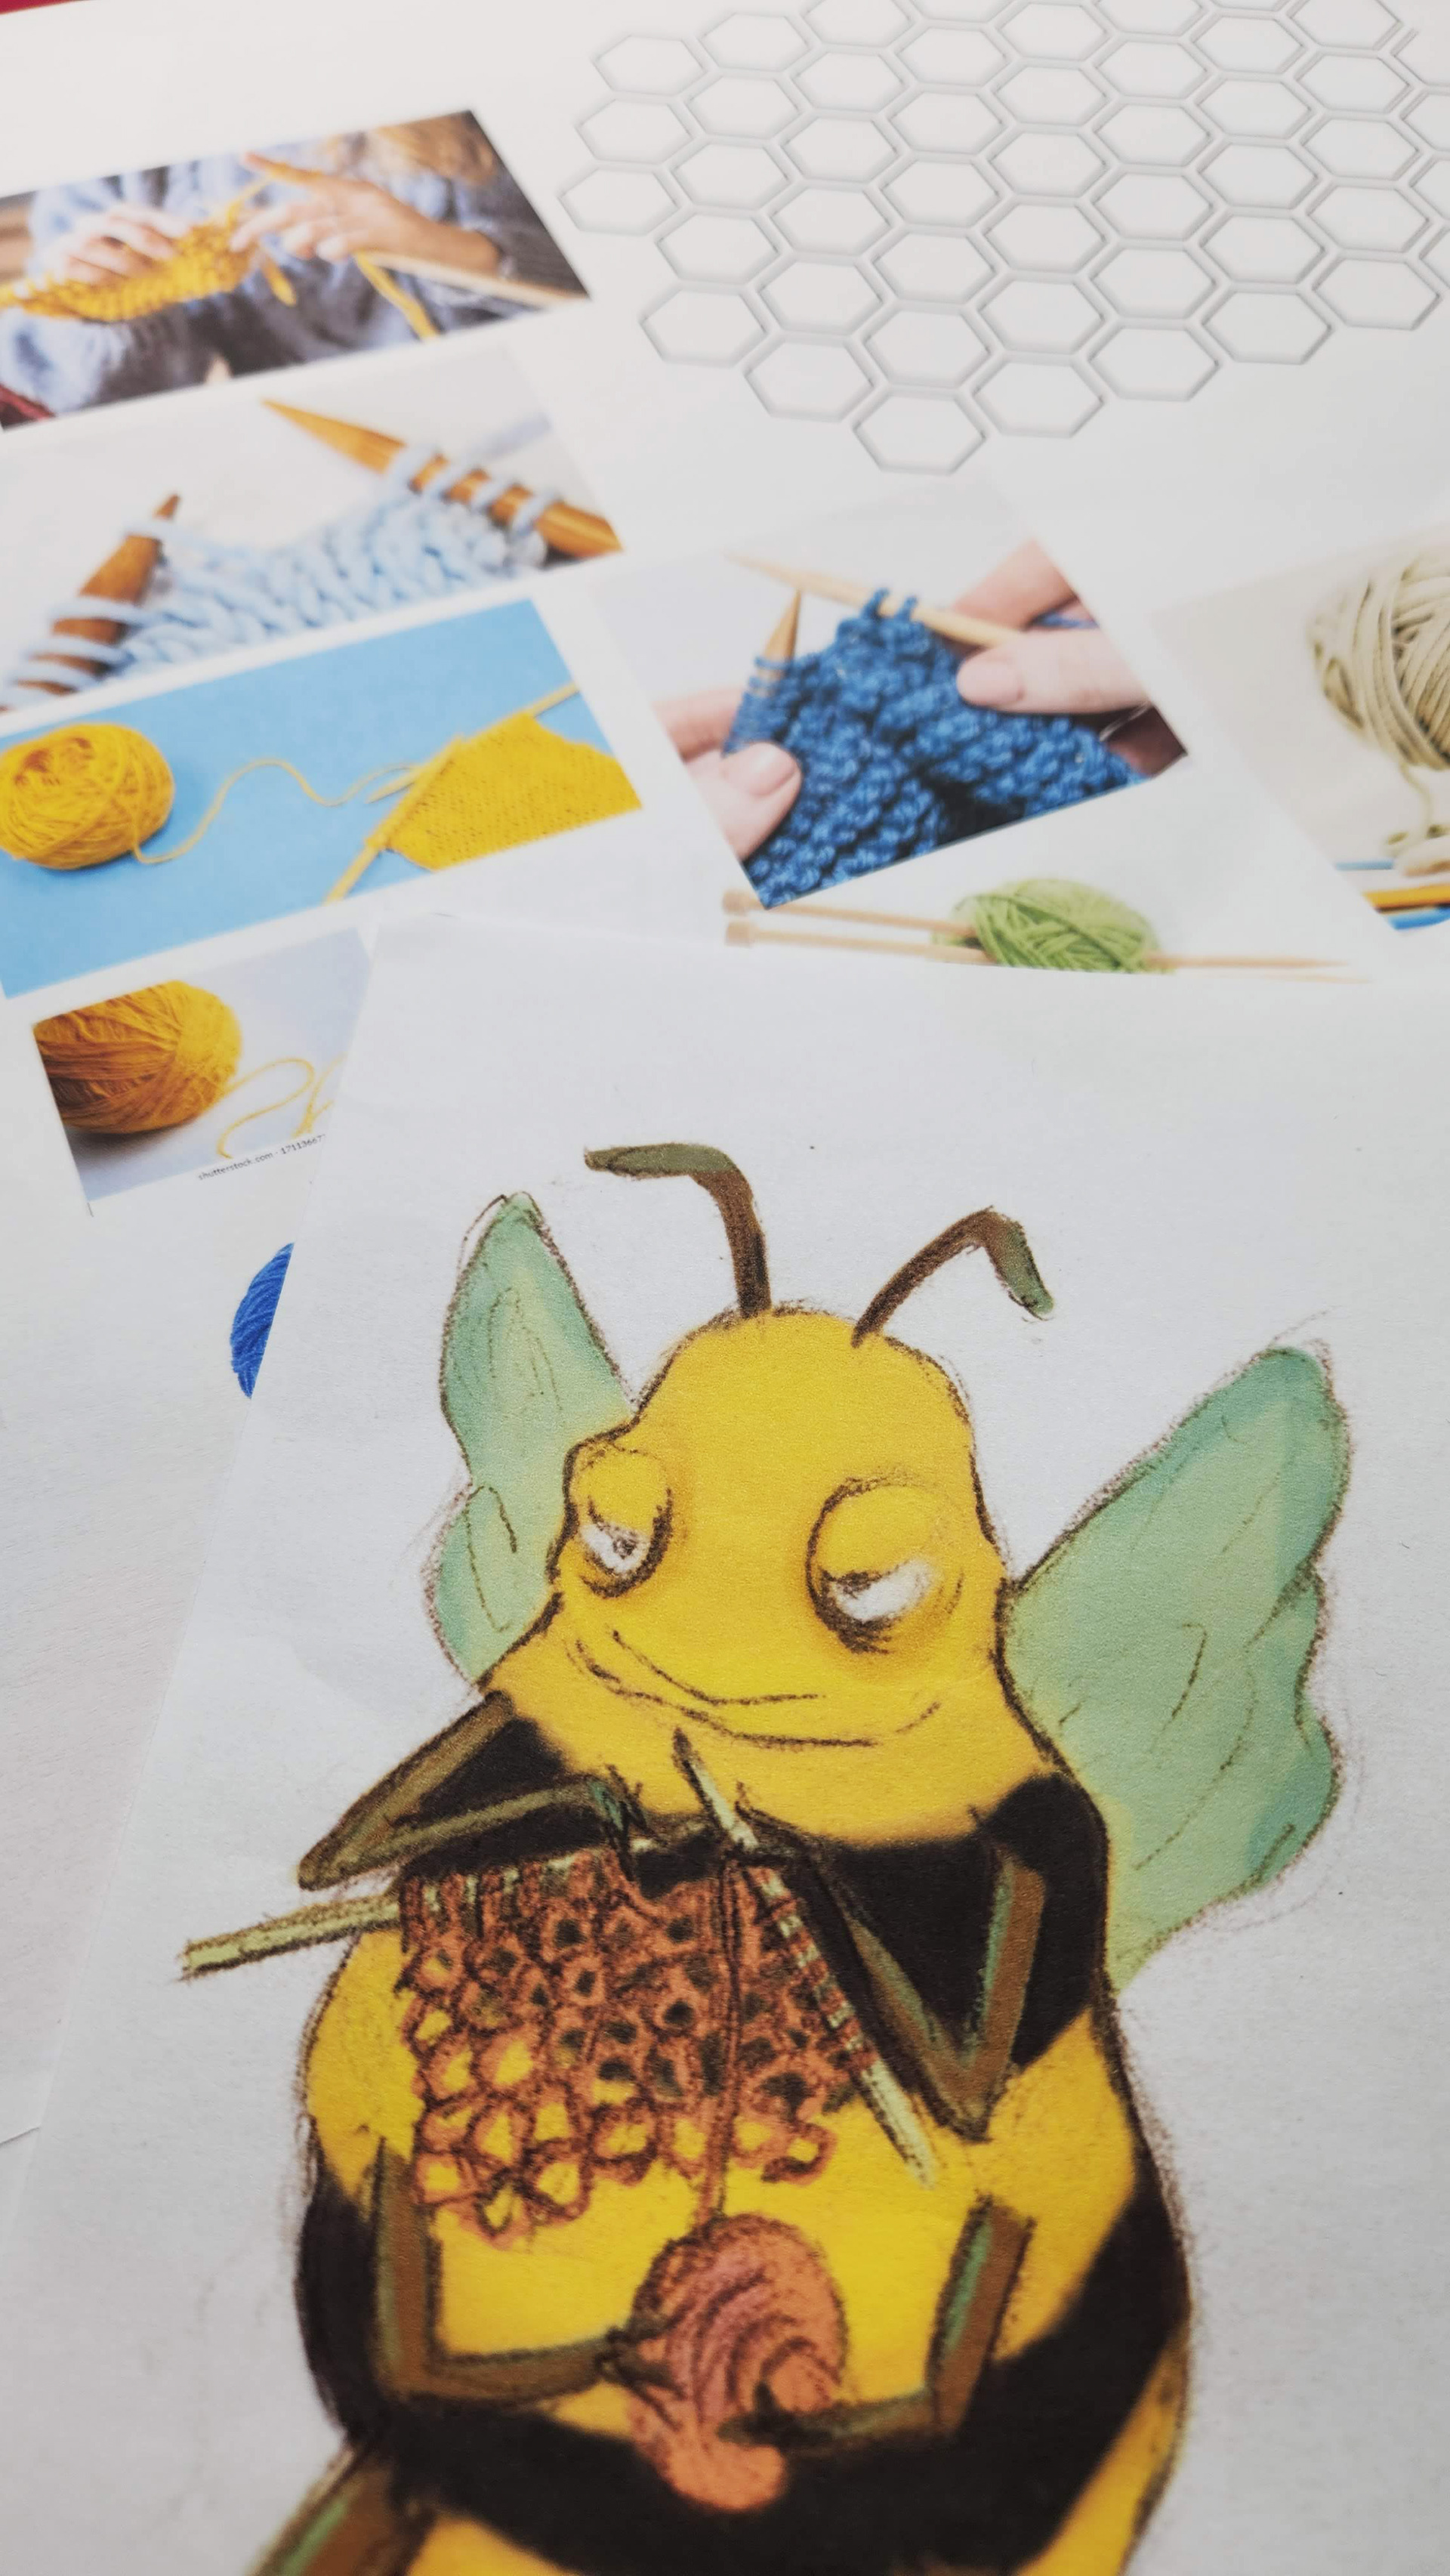
My process for this type of illustration is similar to my previous illustrations such as The Bathers or The Book Shop. I start with doodles, then scribble rough ideas on paper. Once I have decided on the subjects in the scene and the direction of the piece, I forage the web for reference photos. Even if the characters are meant to look stylized, they have to look believable to me and to the viewer. I have rarely done insects as characters in the past partly because of their numerous limbs. I felt too lazy to explore insects as my subjects. In this case, I did not have a choice but to create several insect characters. Ironically, they ended up being some of my favorites.
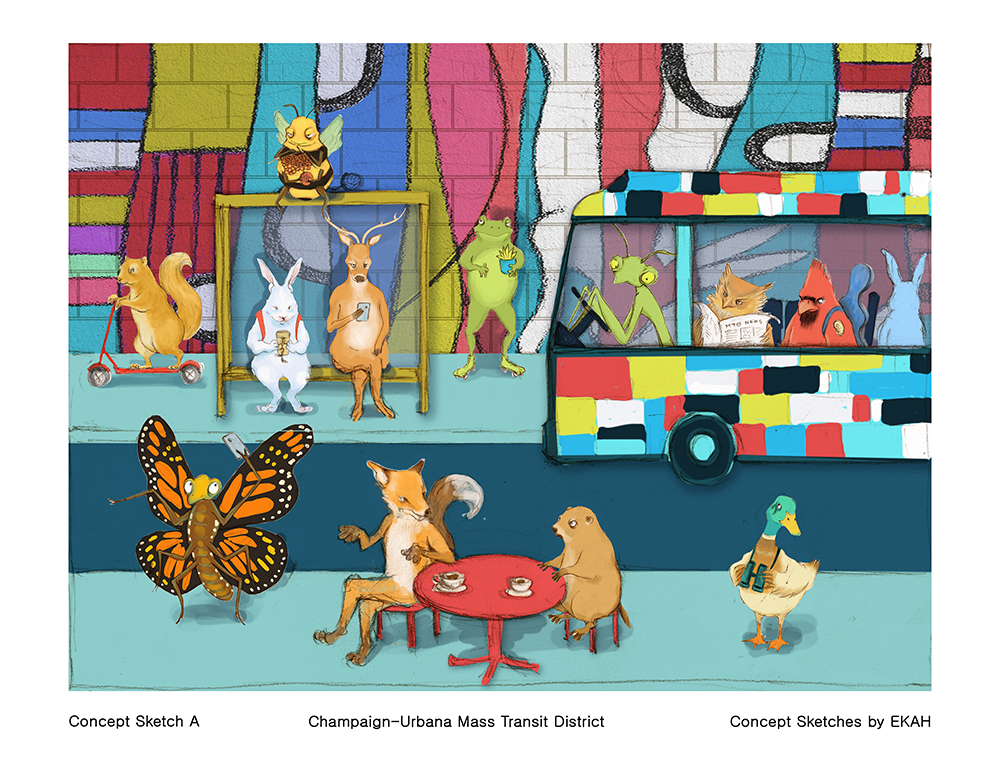
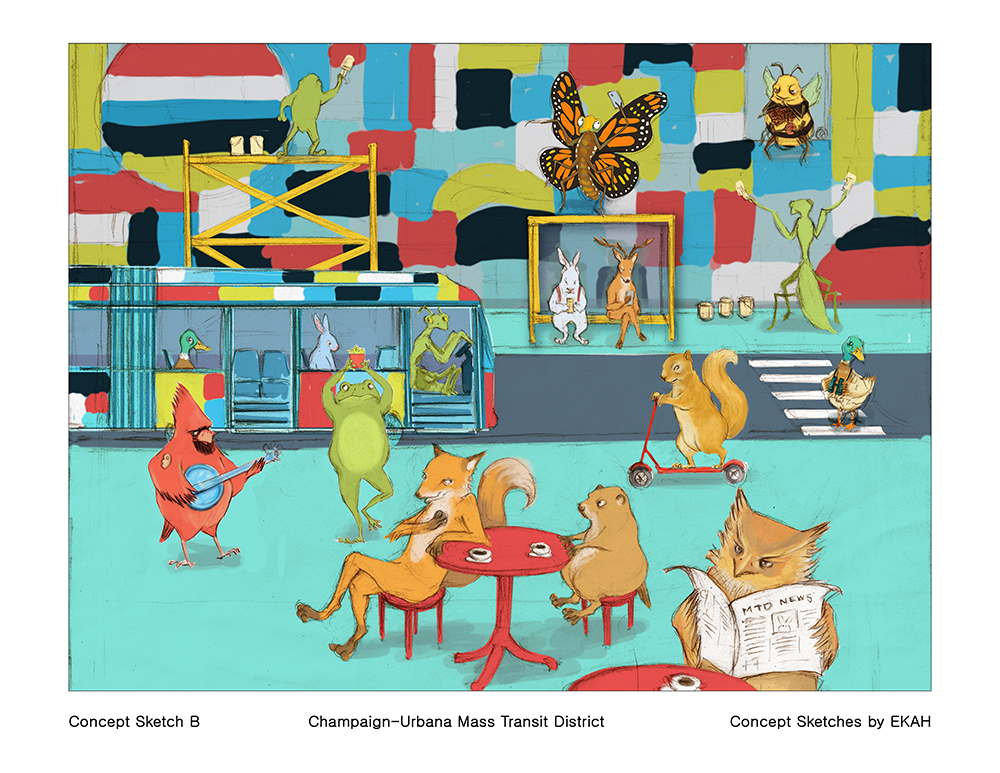
With this project, I was given a list of twelve specific animals that represented a new fleet of Zero Emission buses and had to create a scene with these animals. Apart from that, I was given total freedom to come up with the scene and the design of the characters. I spent quite a bit of time just visualizing in my head what the scene should look and feel like. Then I sketched and worked out the layout of the scene and the character designs. One of my absolute rules when drawing animal characters is that I have to like the characters that I am creating. If I don't personally like the character, then I can't expect viewers to like it.
My process for this type of illustration is similar to my previous illustrations such as The Bathers or The Book Shop. I start with doodles, then scribble rough ideas on paper. Once I have decided on the subjects in the scene and the direction of the piece, I forage the web for reference photos. Even if the characters are meant to look stylized, they have to look believable to me and to the viewer. I have rarely done insects as characters in the past partly because of their numerous limbs. I felt too lazy to explore insects as my subjects. In this case, I did not have a choice but to create several insect characters. Ironically, they ended up being some of my favorites.
With this project, I was given a list of twelve specific animals that represented a new fleet of Zero Emission buses and had to create a scene with these animals. Apart from that, I was given total freedom to come up with the scene and the design of the characters. I spent quite a bit of time just visualizing in my head what the scene should look and feel like. Then I sketched and worked out the layout of the scene and the character designs. One of my absolute rules when drawing animal characters is that I have to like the characters that I am creating. If I don't personally like the character, then I can't expect viewers to like it.
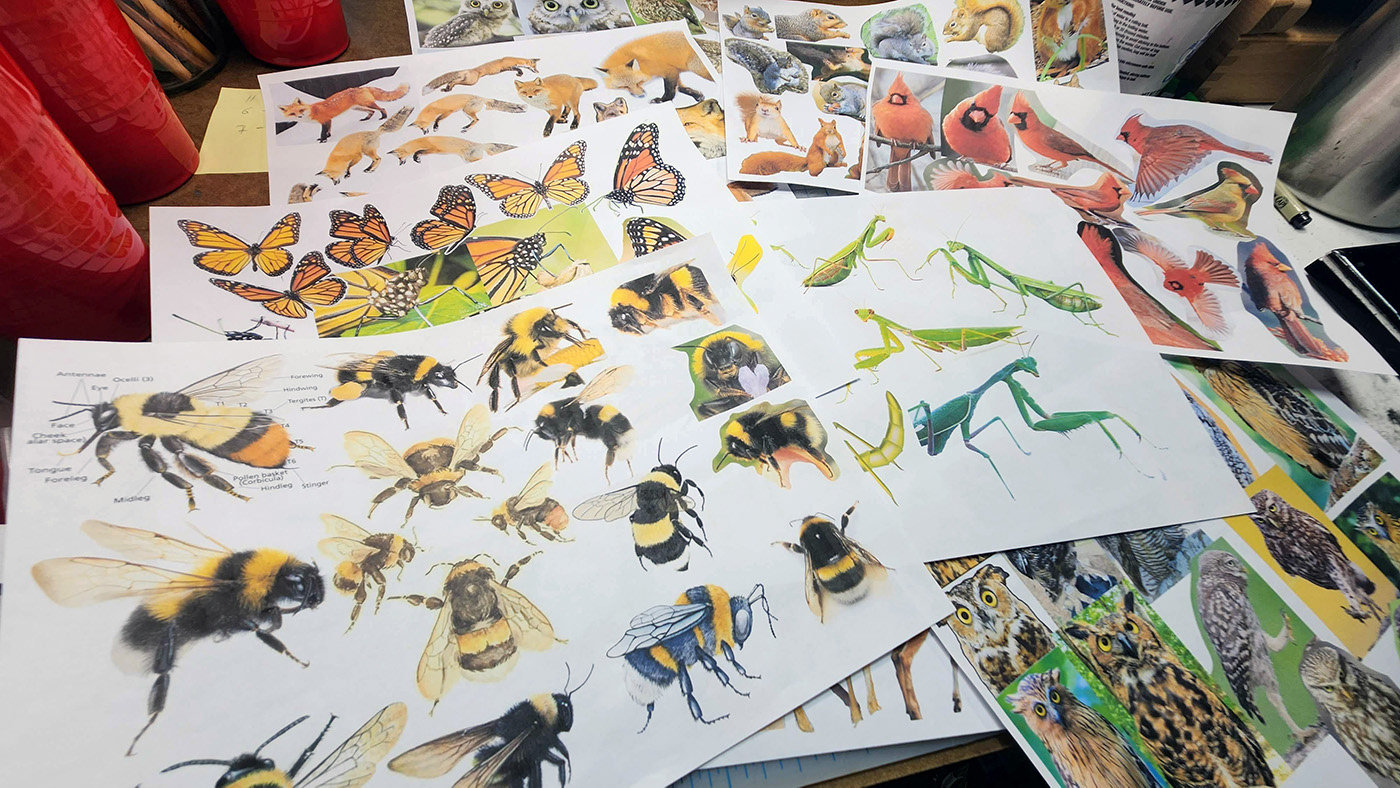
Study reference photos
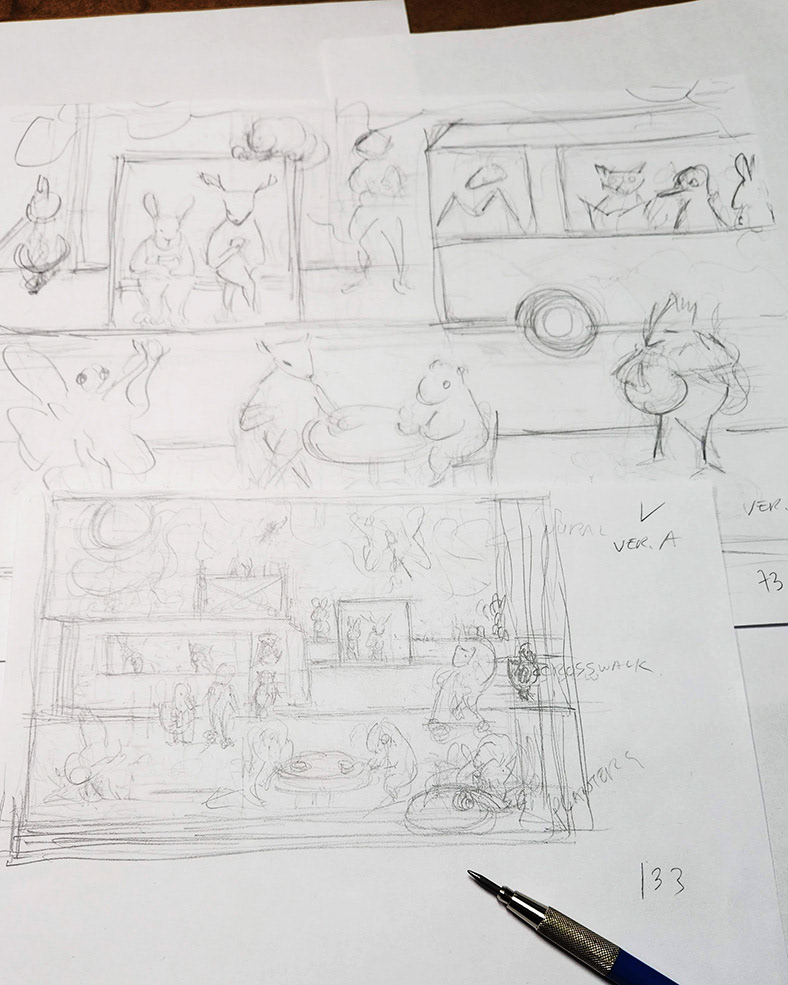
Layout doodles

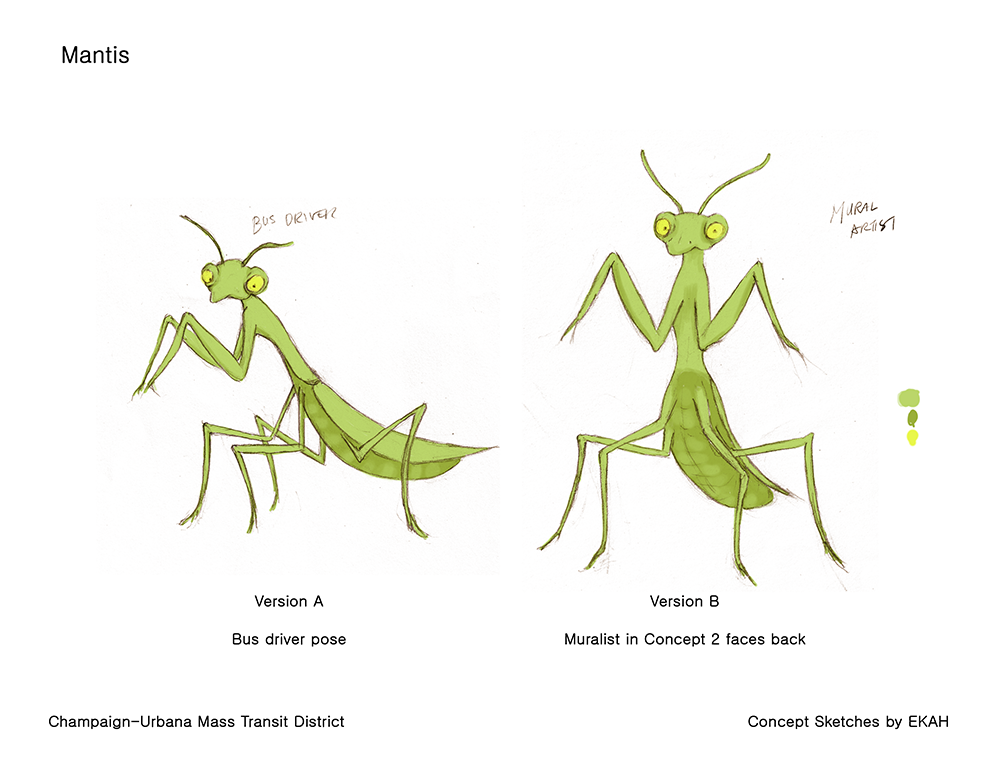
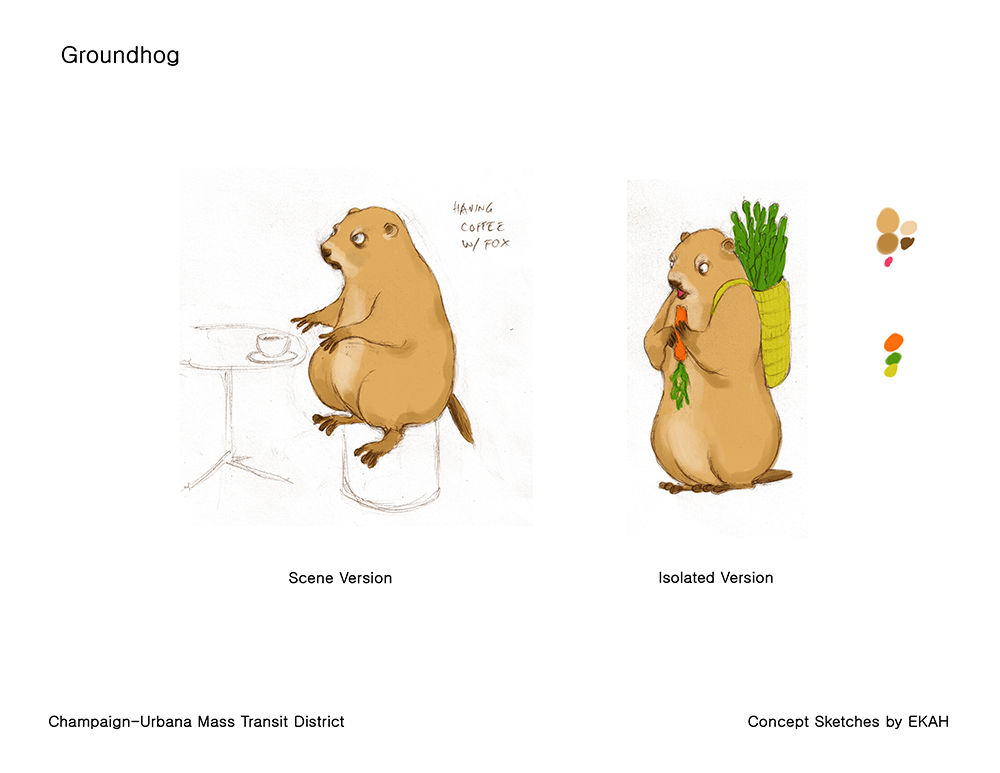
Character doodles
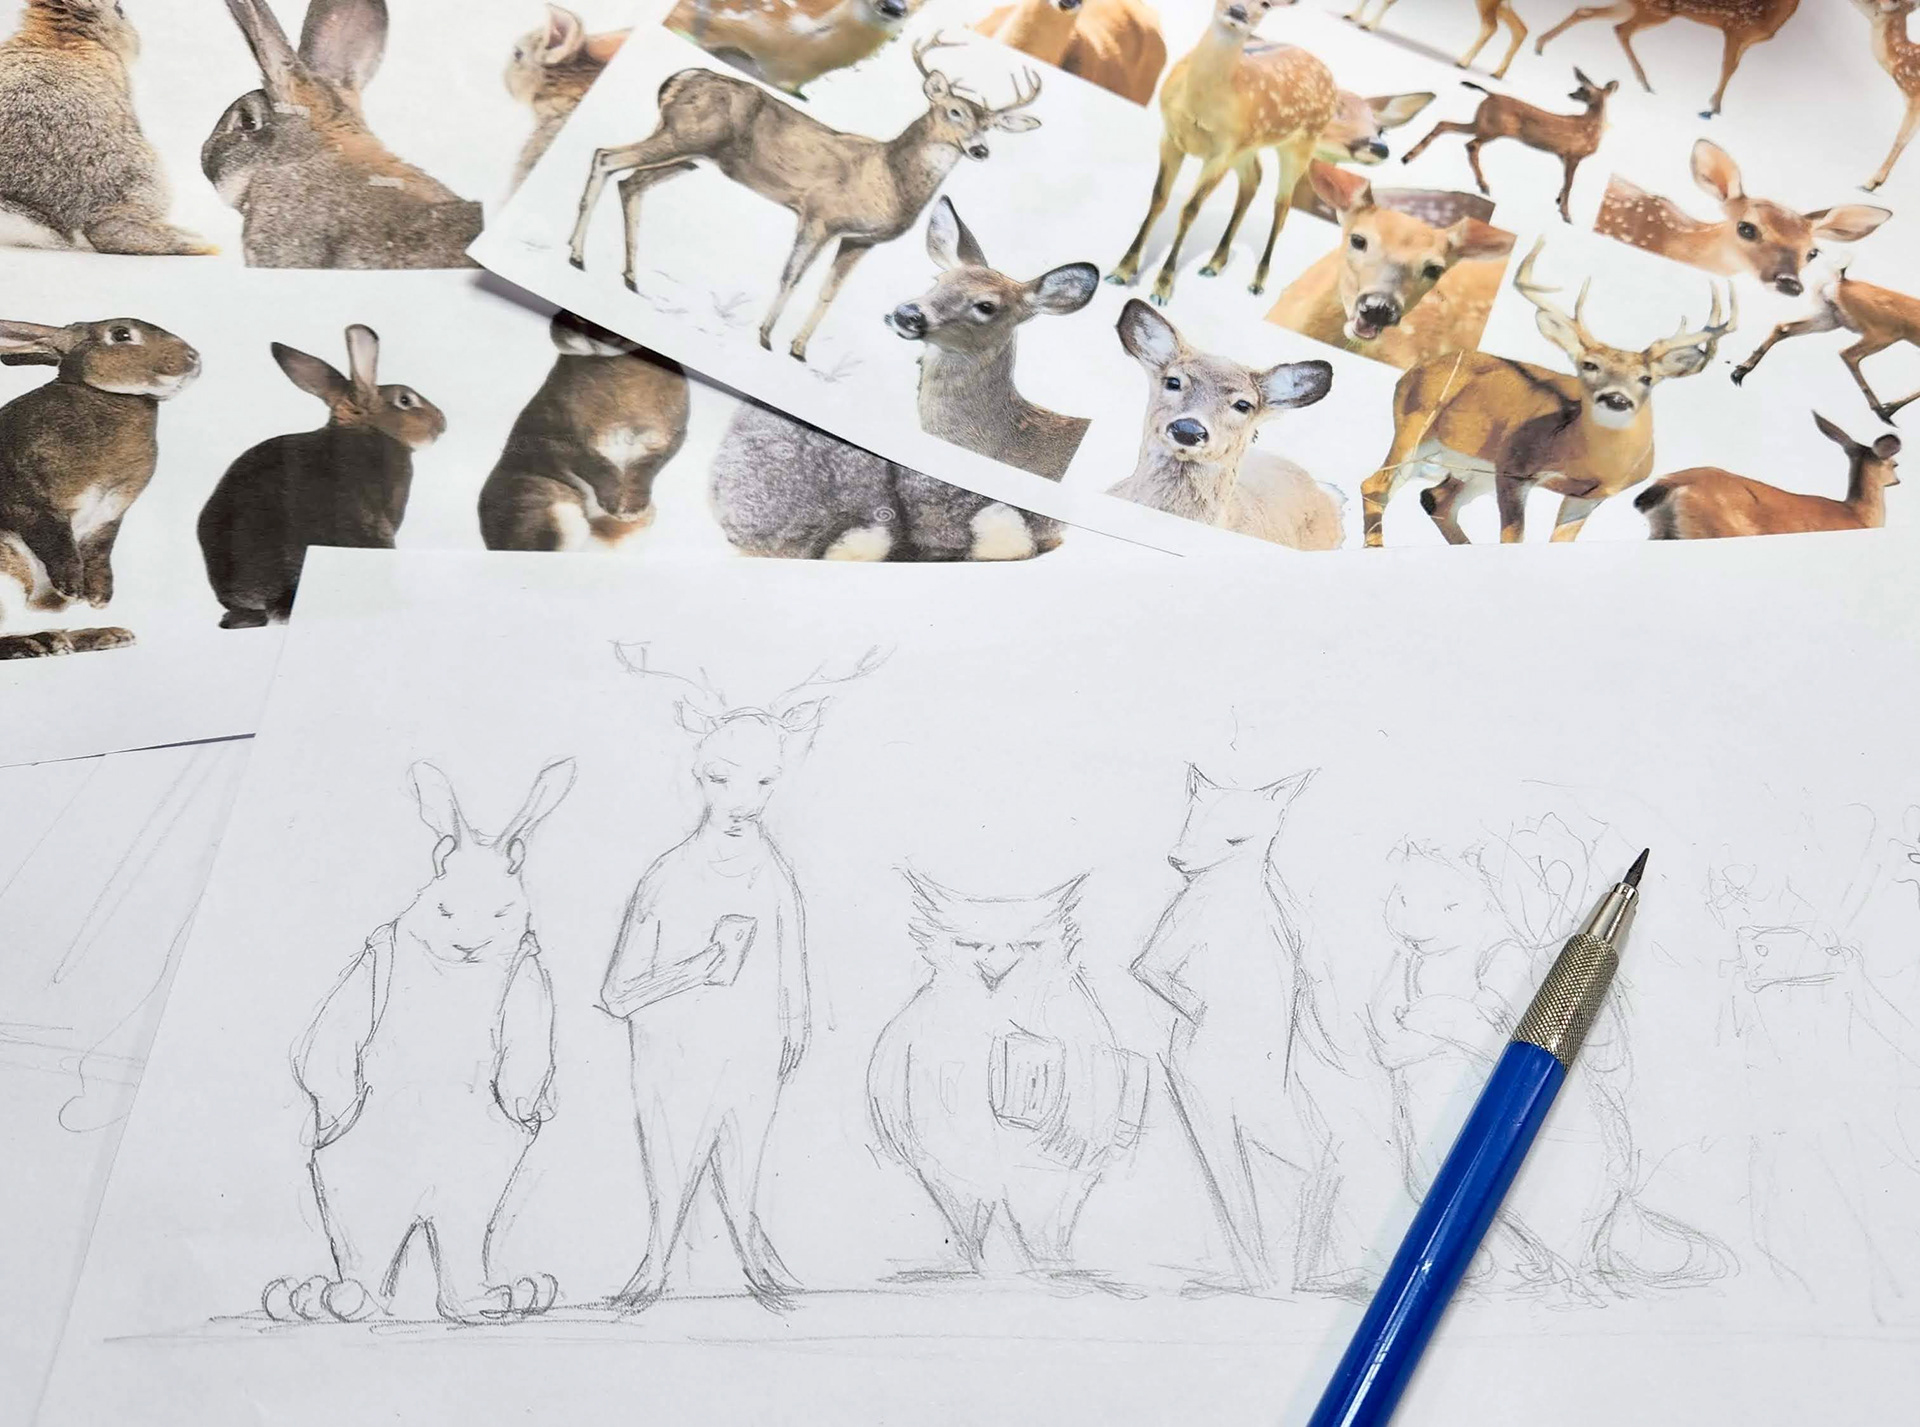
Character doodles

Rough layout sketches
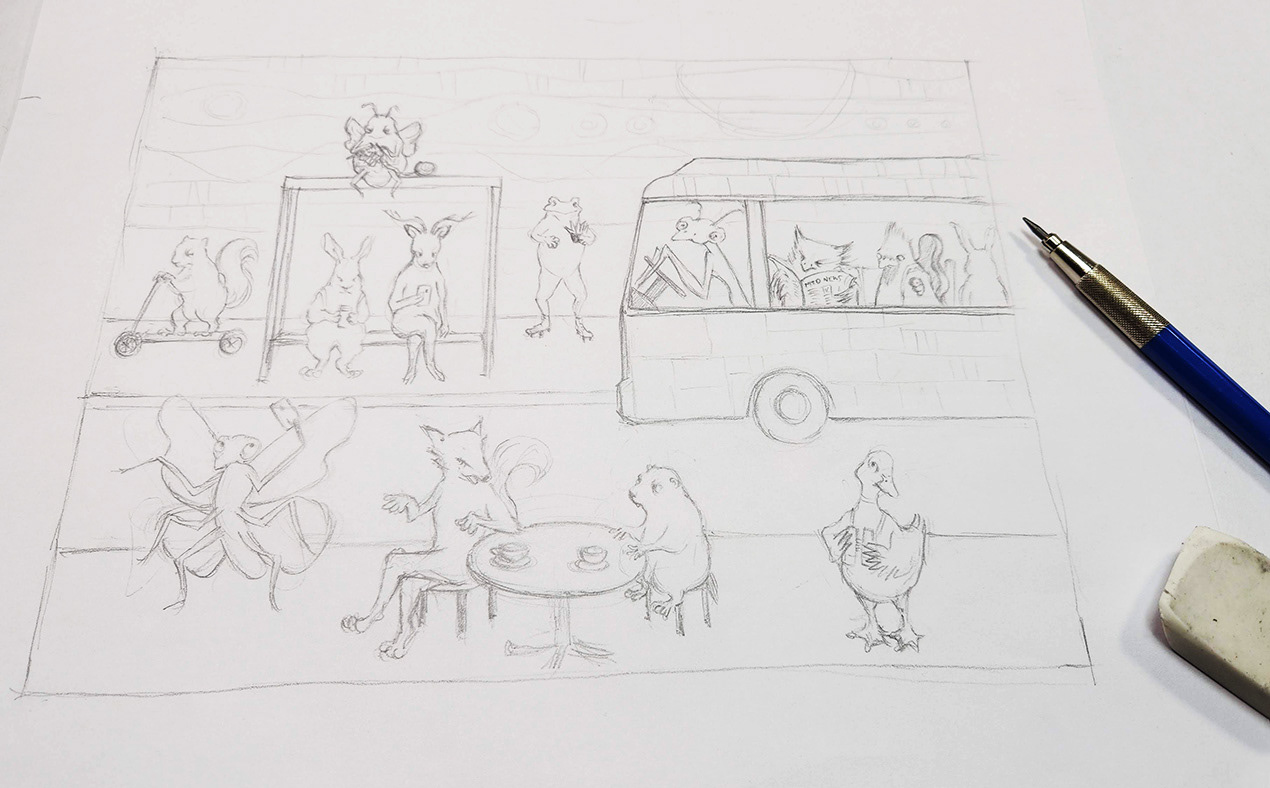
Rough layout sketches
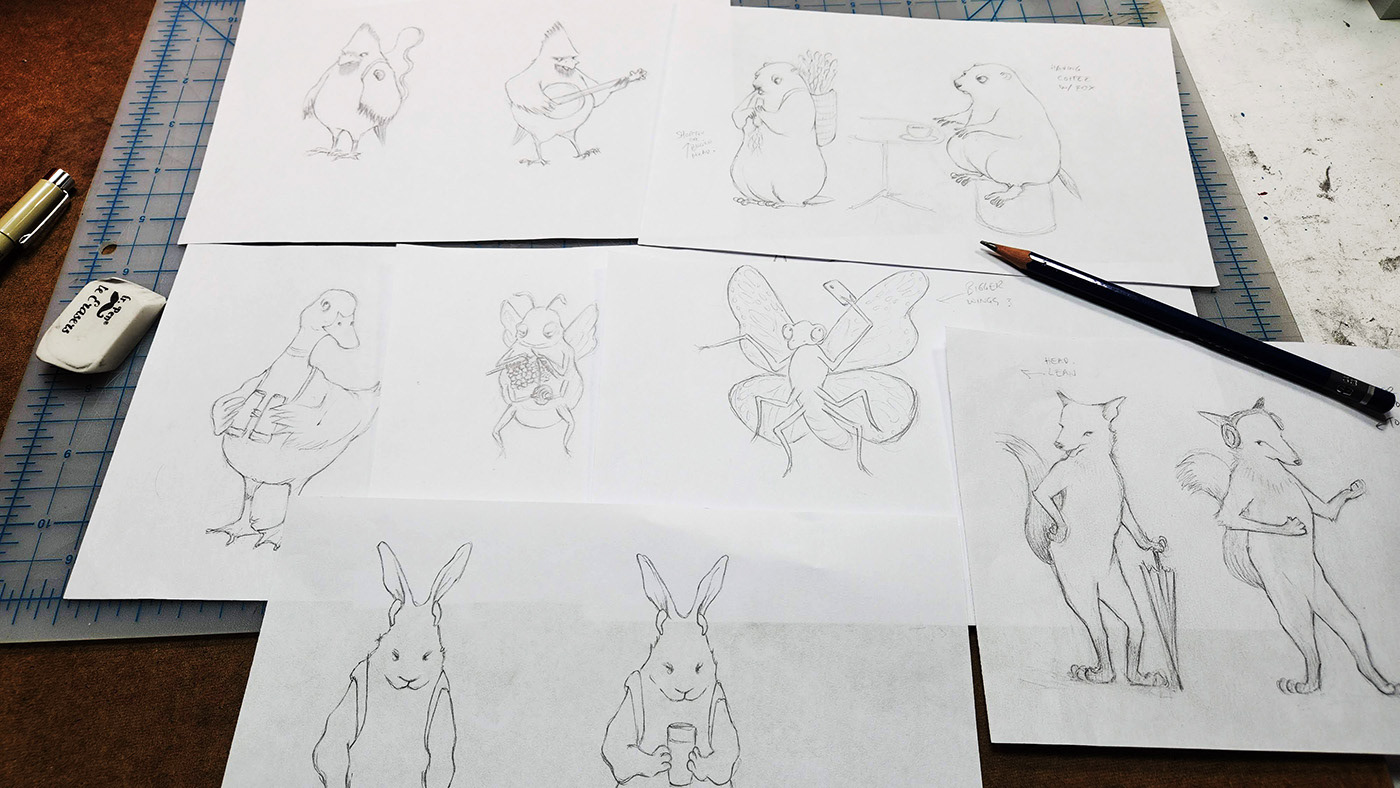
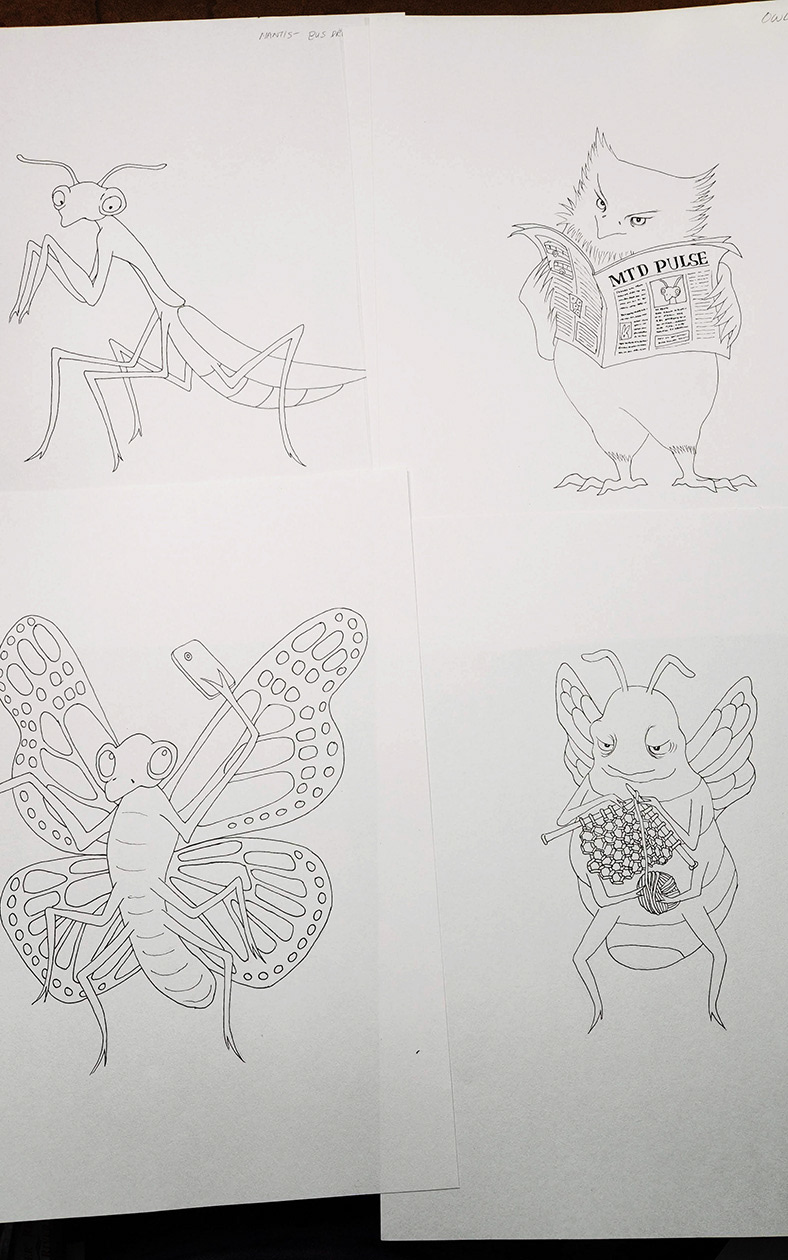
Rough character sketches

Rough character sketches
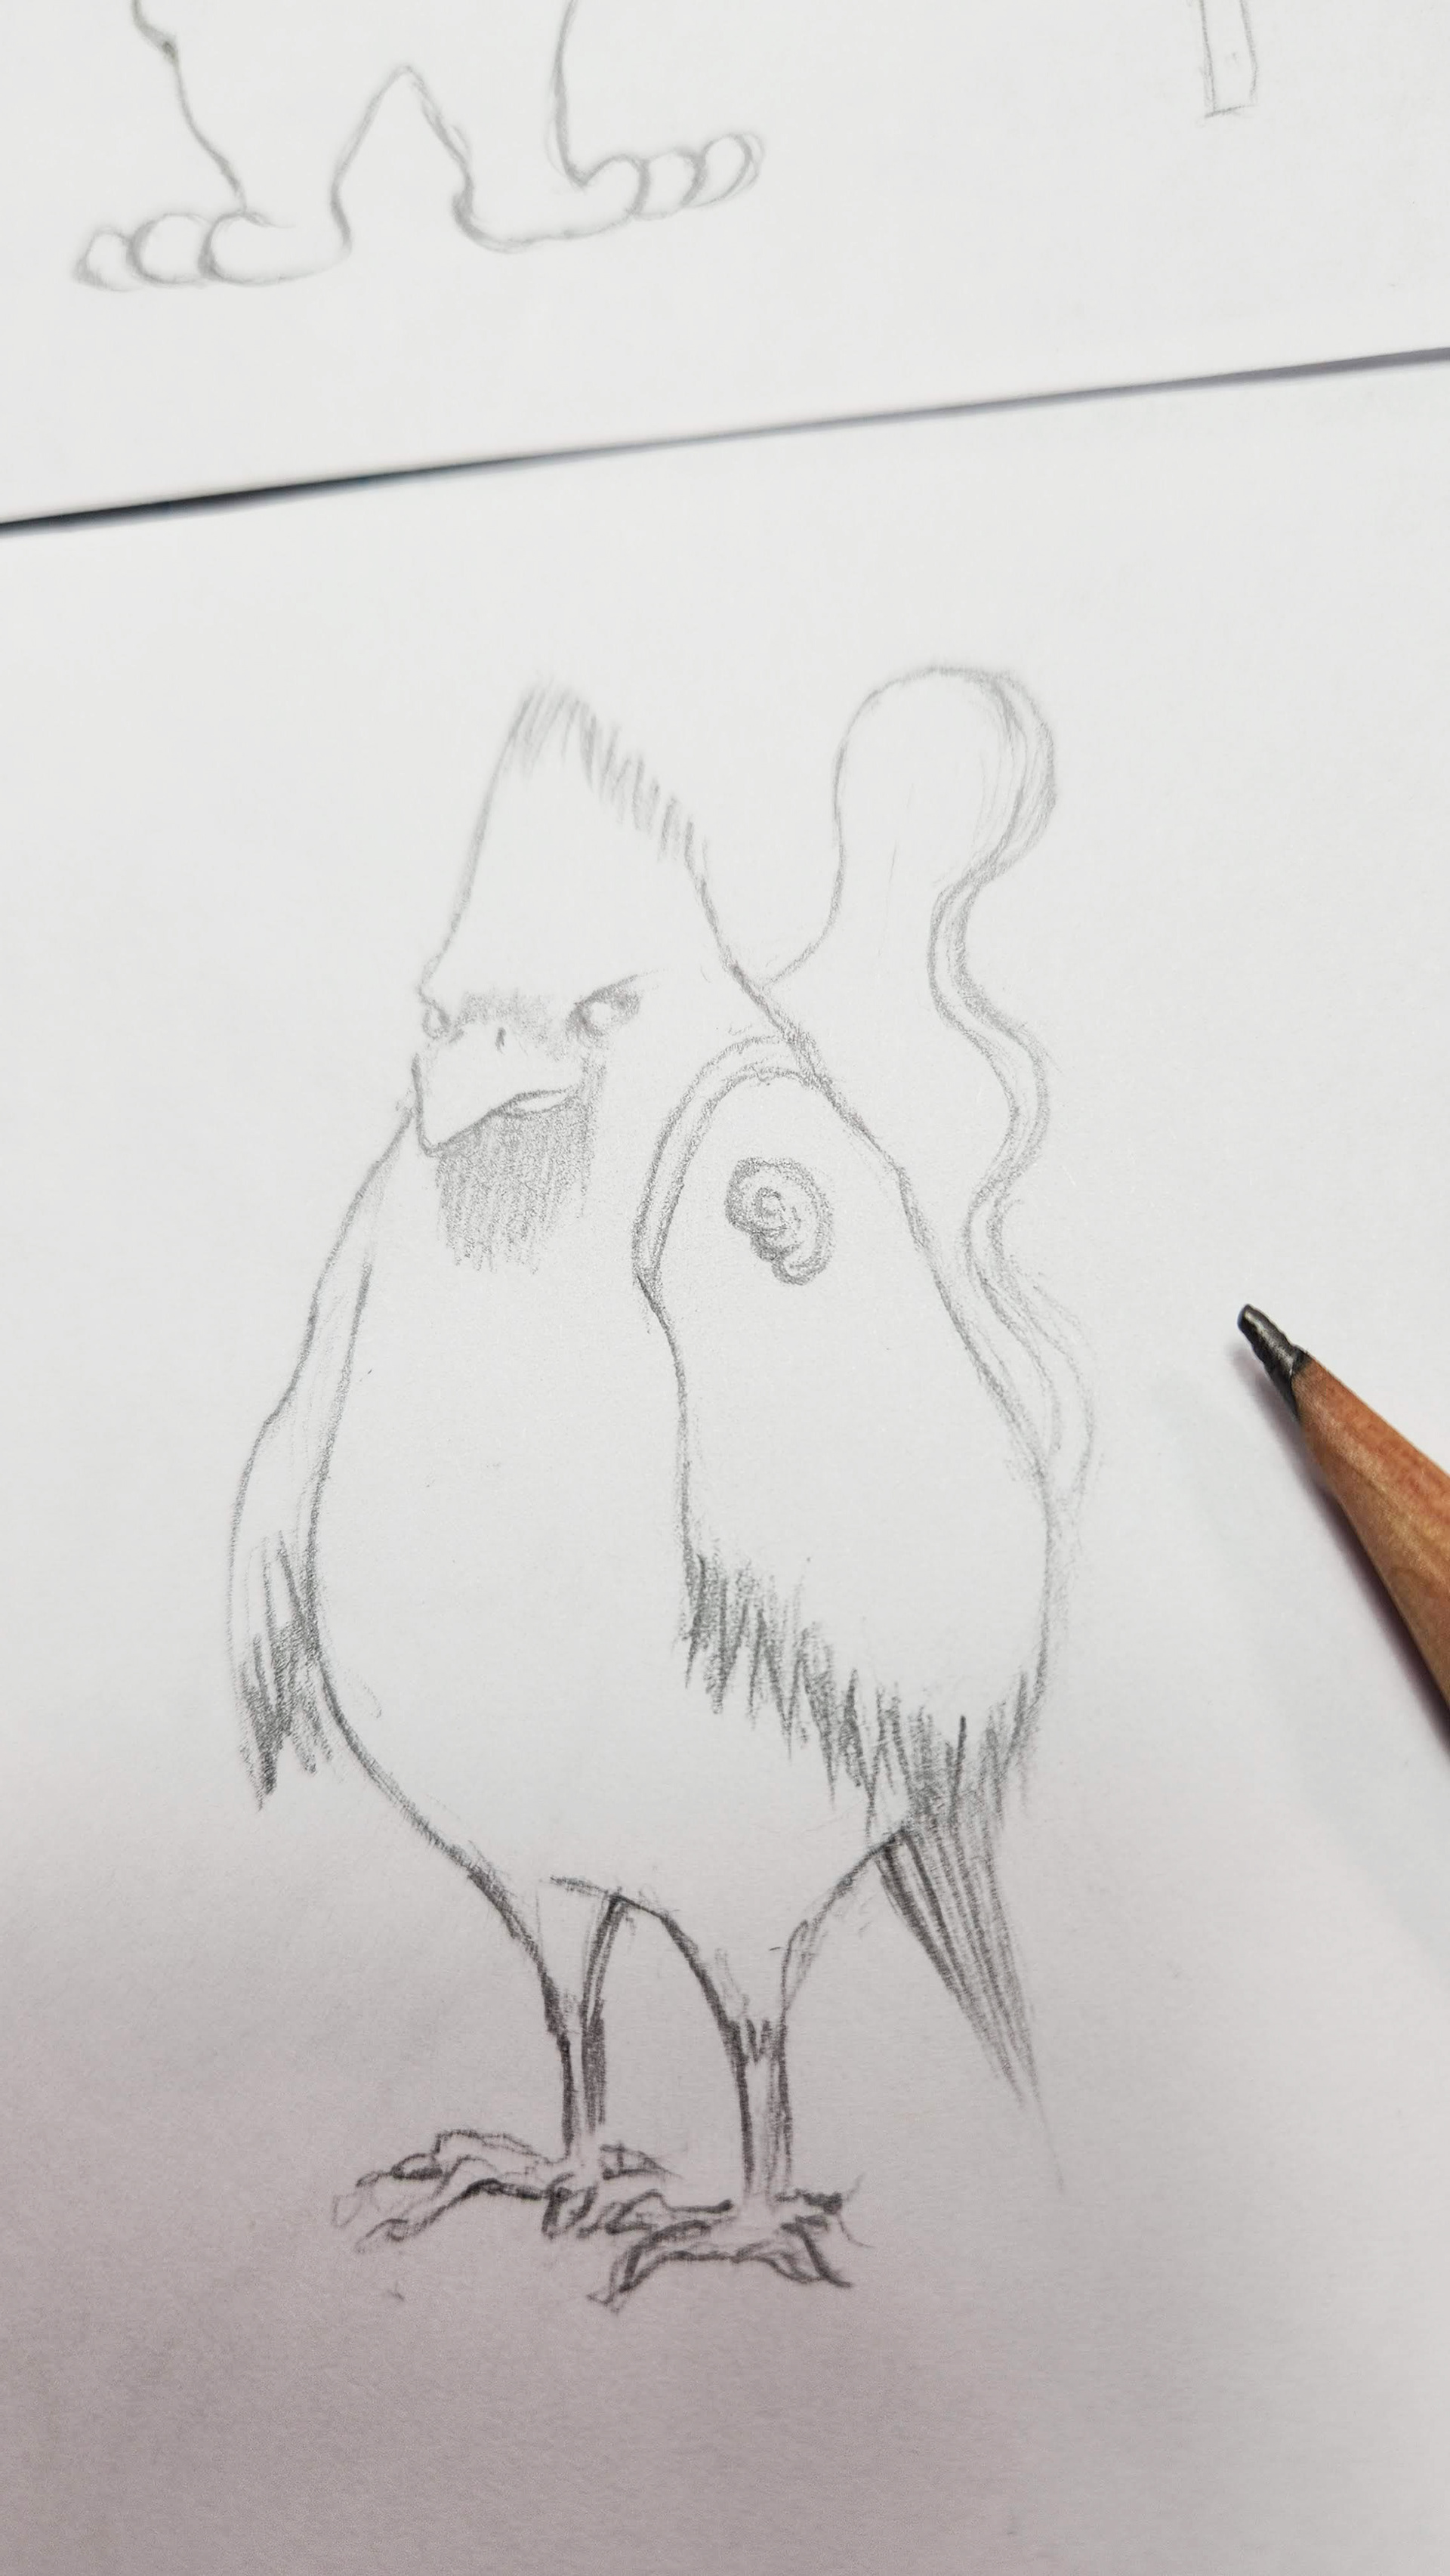
Rough character sketches
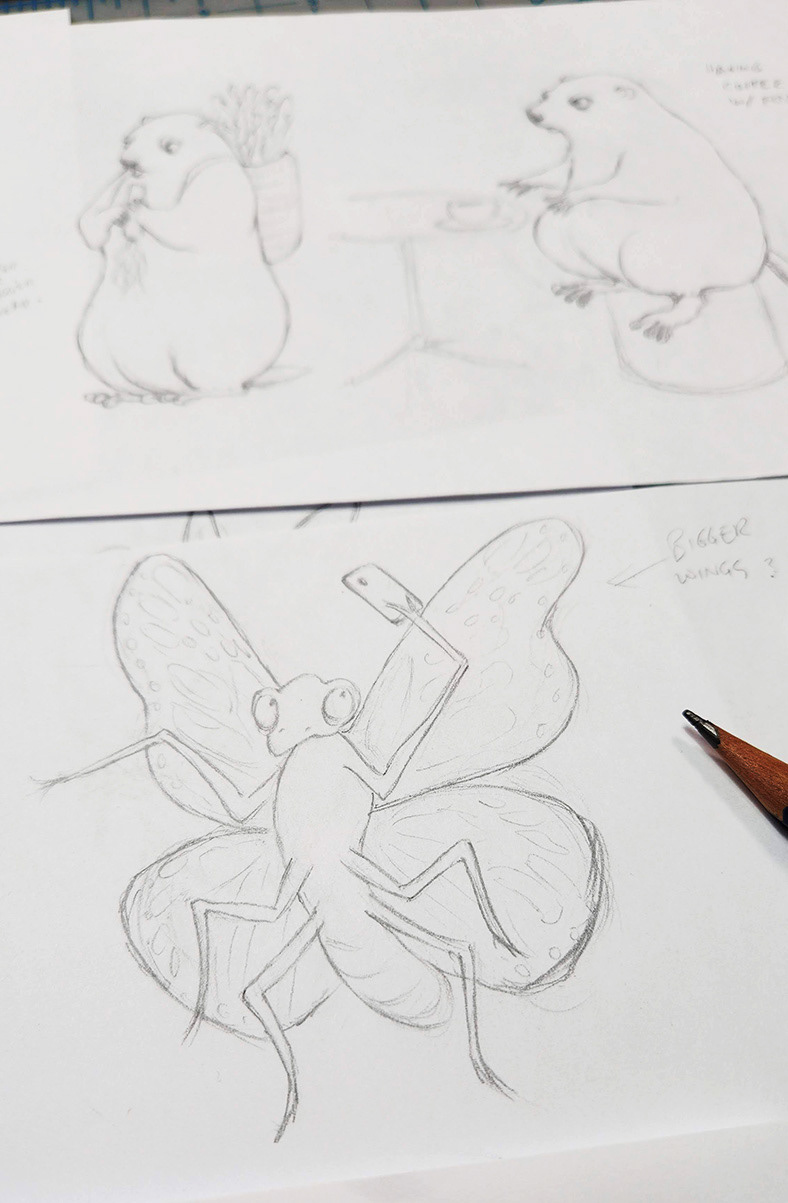
Rough character sketches

Rough character sketches
The Middle: Concept Sketches
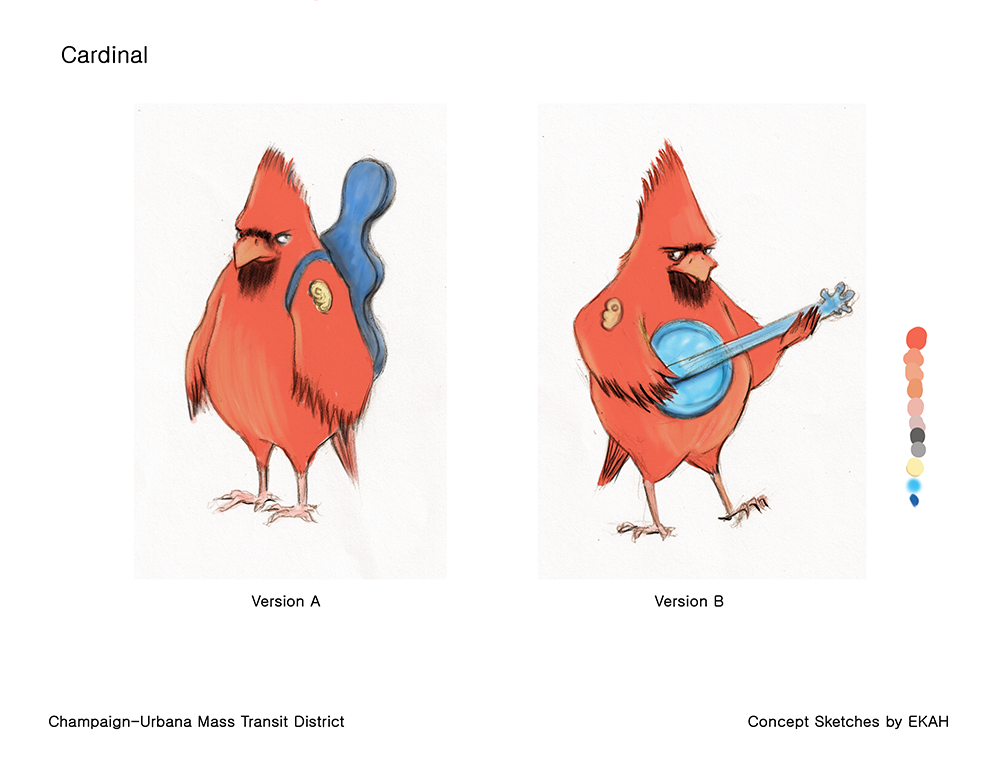
When I am comfortable with the rough sketches of the scene and the characters, I create rough color sketches. This process helps to unify the look of the entire scene. The project required the characters to stand alone without the scene background in an isolated format. I established the colors of the characters first. Then I worked on the colors of the scene around the characters. This was a challenge that I don't normally impose on myself on personal projects, but I enjoyed working within these boundaries.
When I am comfortable with the rough sketches of the scene and the characters, I create rough color sketches. This process helps to unify the look of the entire scene. The project required the characters to stand alone without the scene background in an isolated format. I established the colors of the characters first. Then I worked on the colors of the scene around the characters. This was a challenge that I don't normally impose on myself on personal projects, but I enjoyed working within these boundaries.
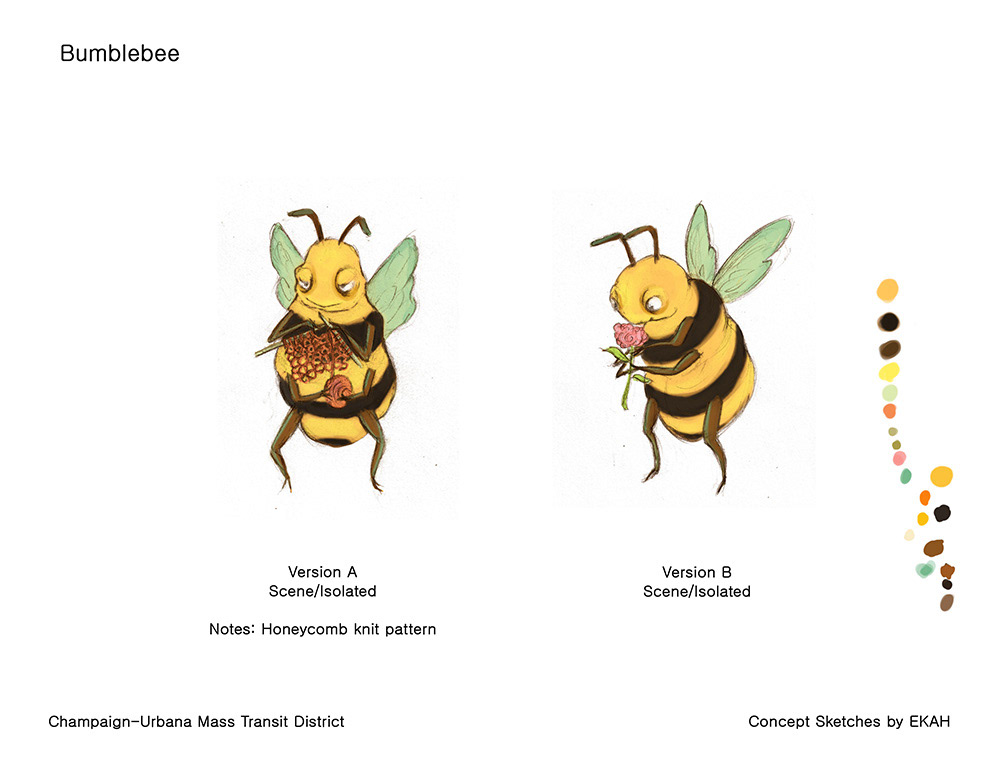
Rough color sketches
Rough color sketches
Rough color sketches
Rough color sketches

Rough color sketches
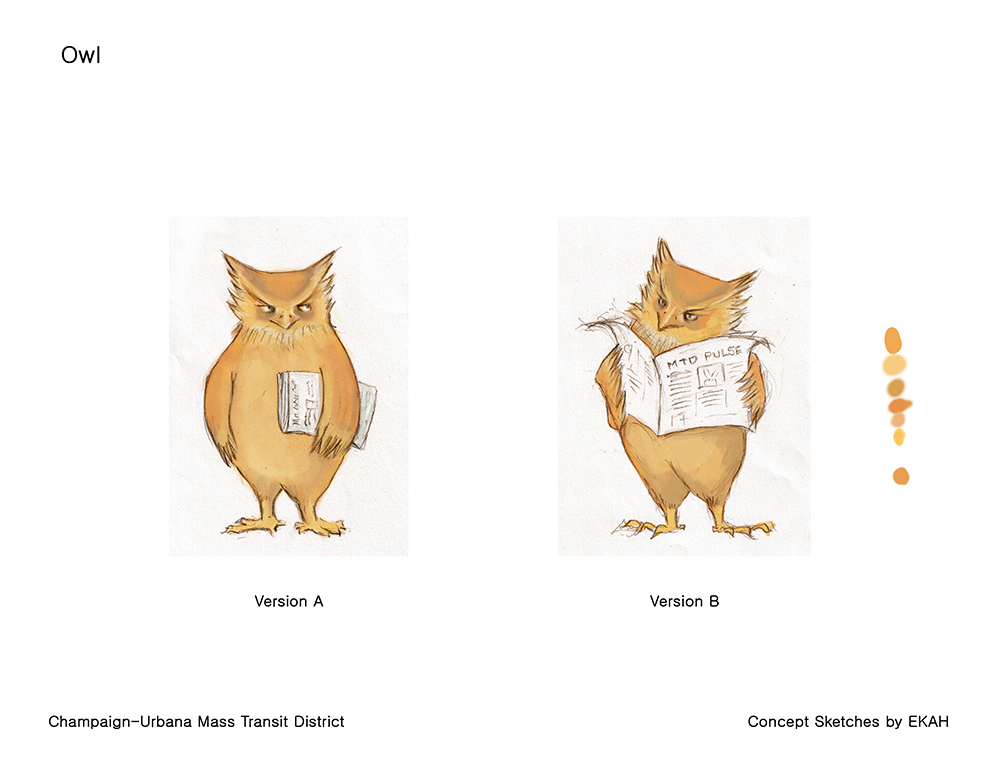
Rough color sketches
Rough color sketches
Rough color sketches
Rough color sketches
Rough color sketches
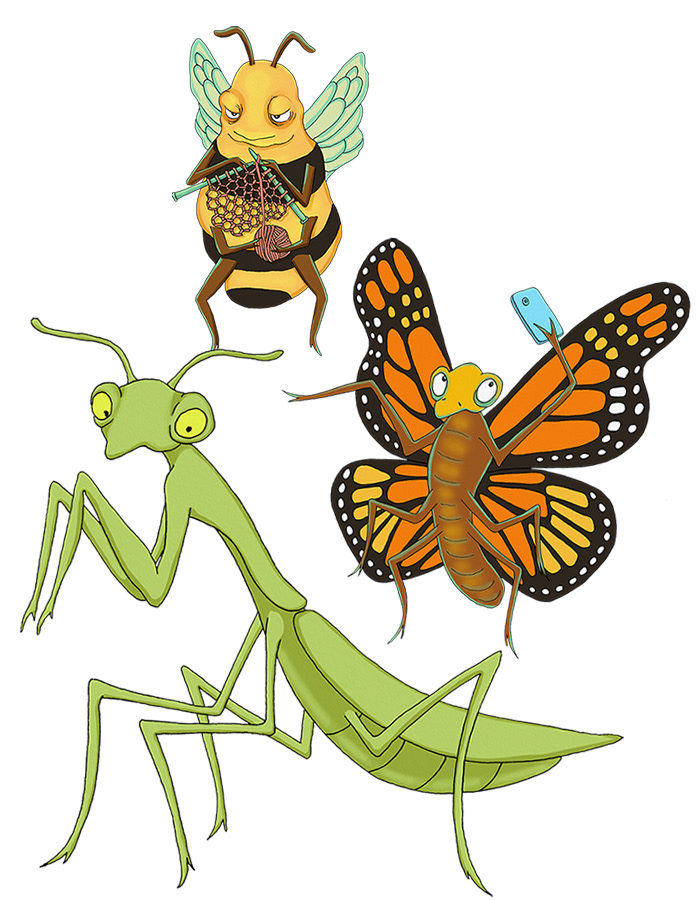
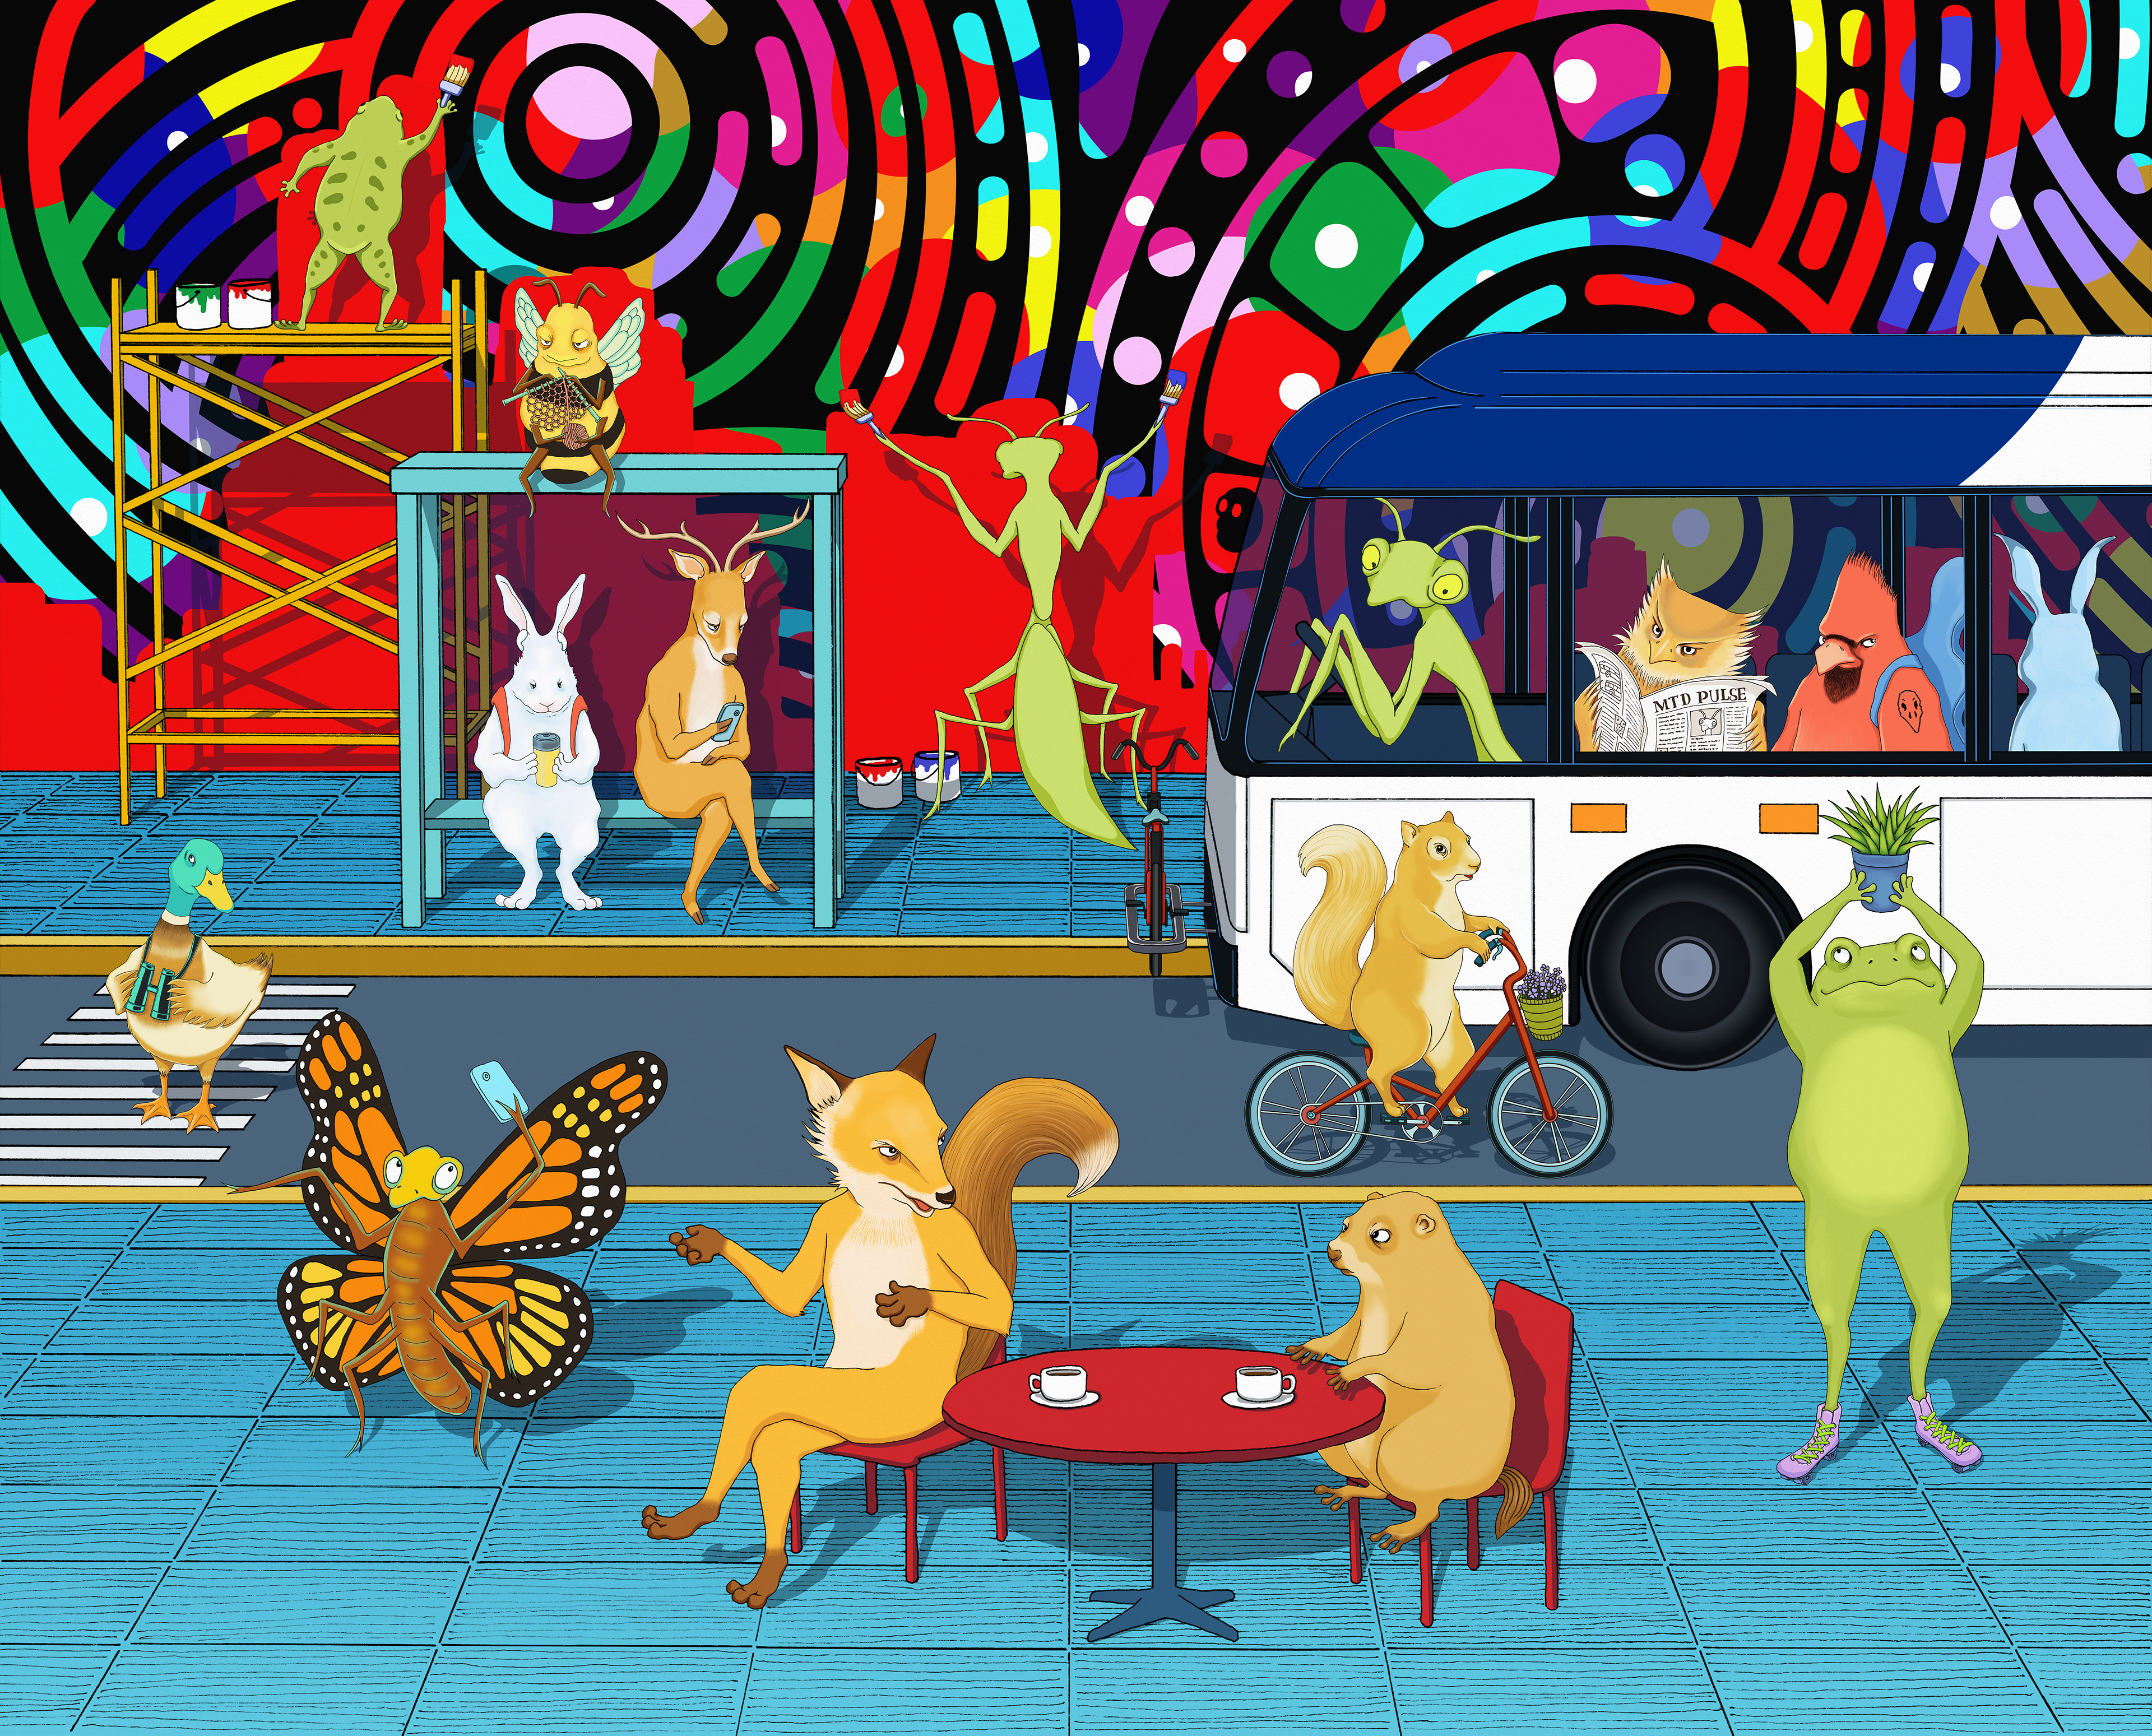
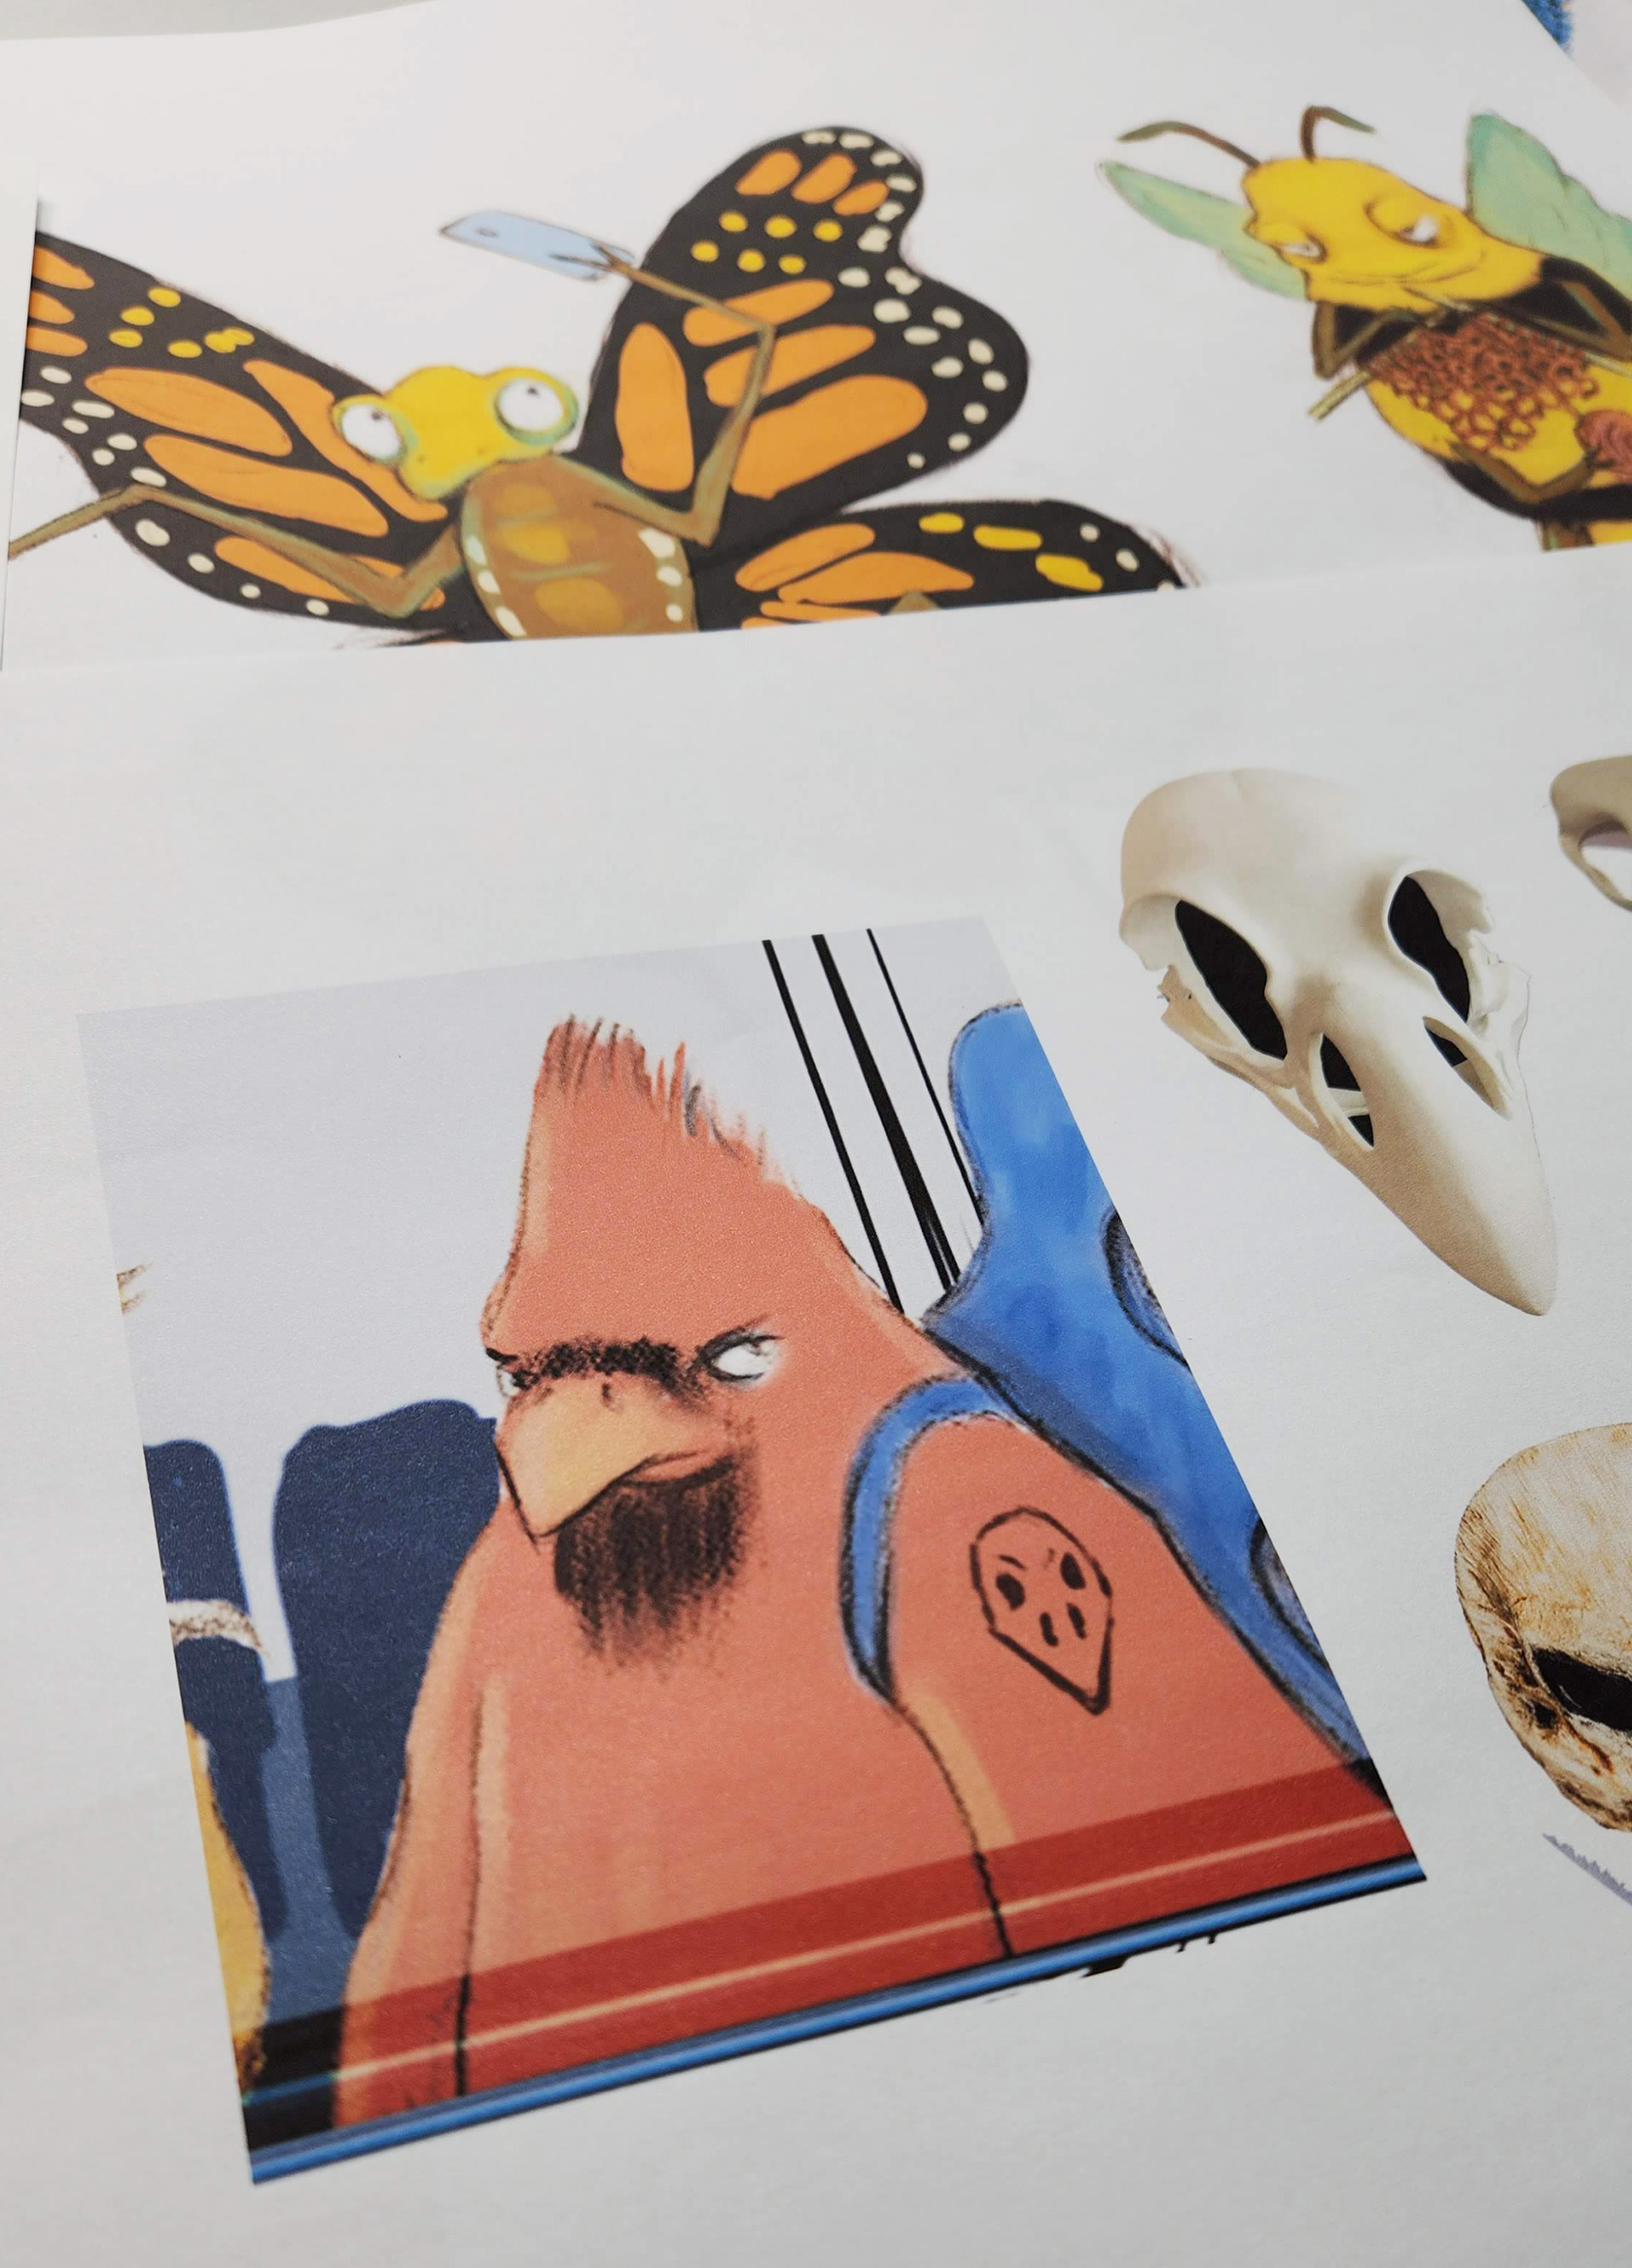
The End: Inking & Digital Painting
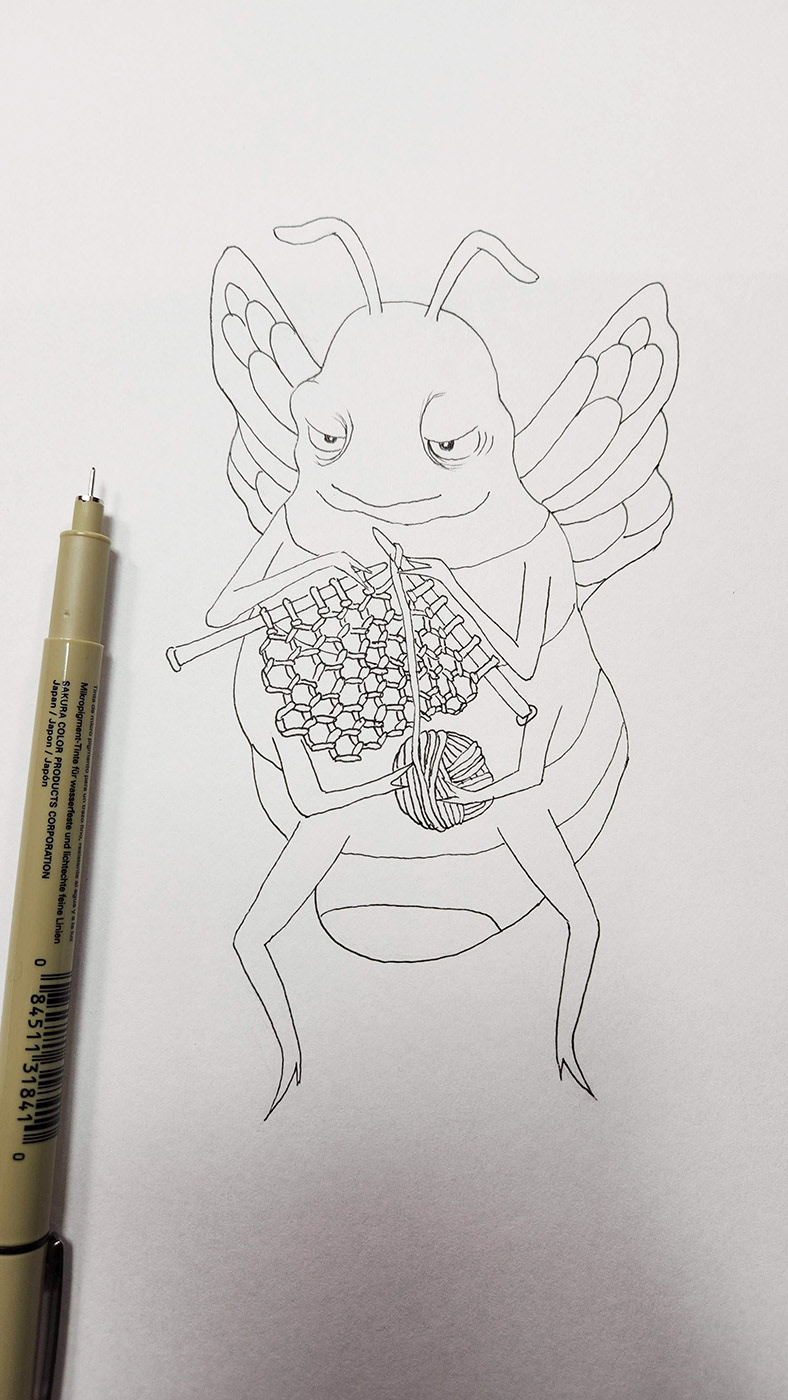
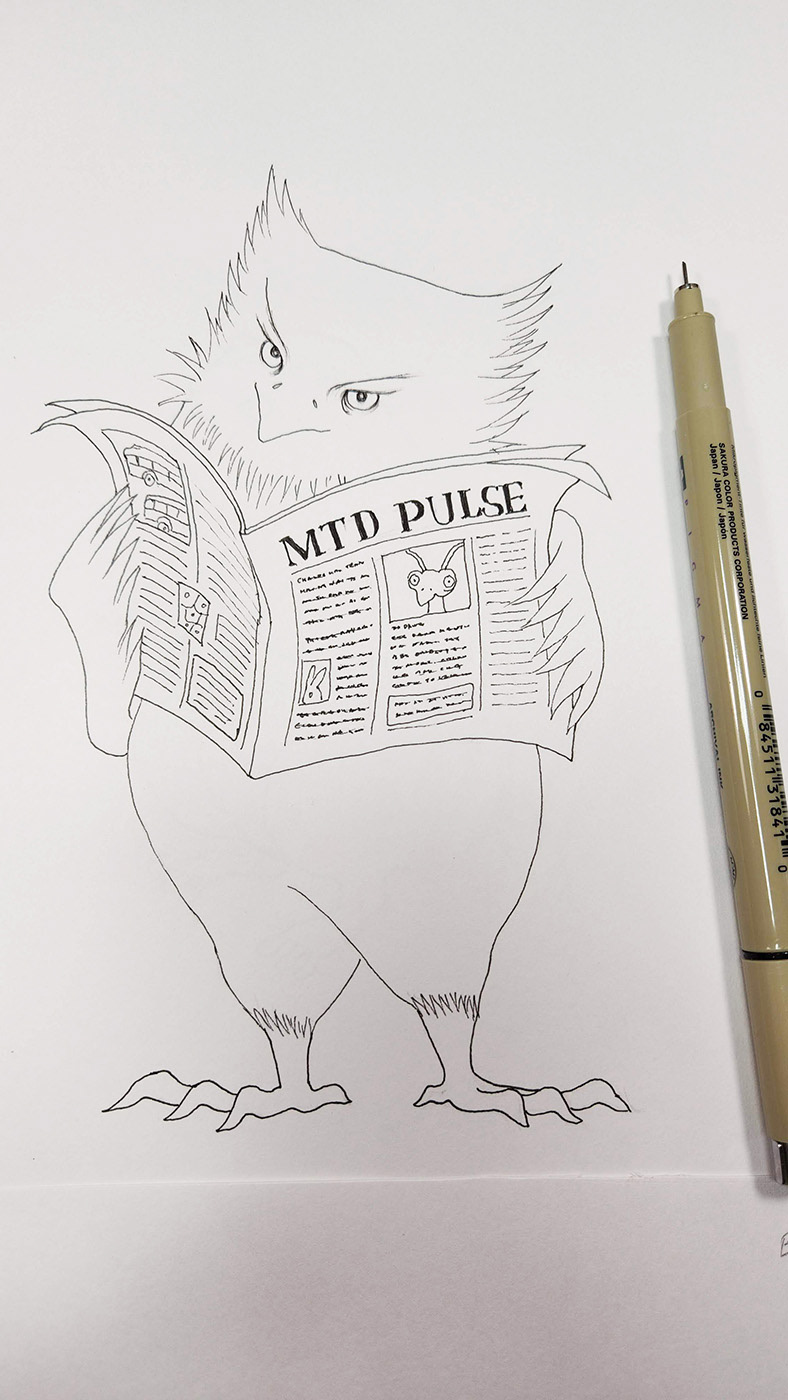
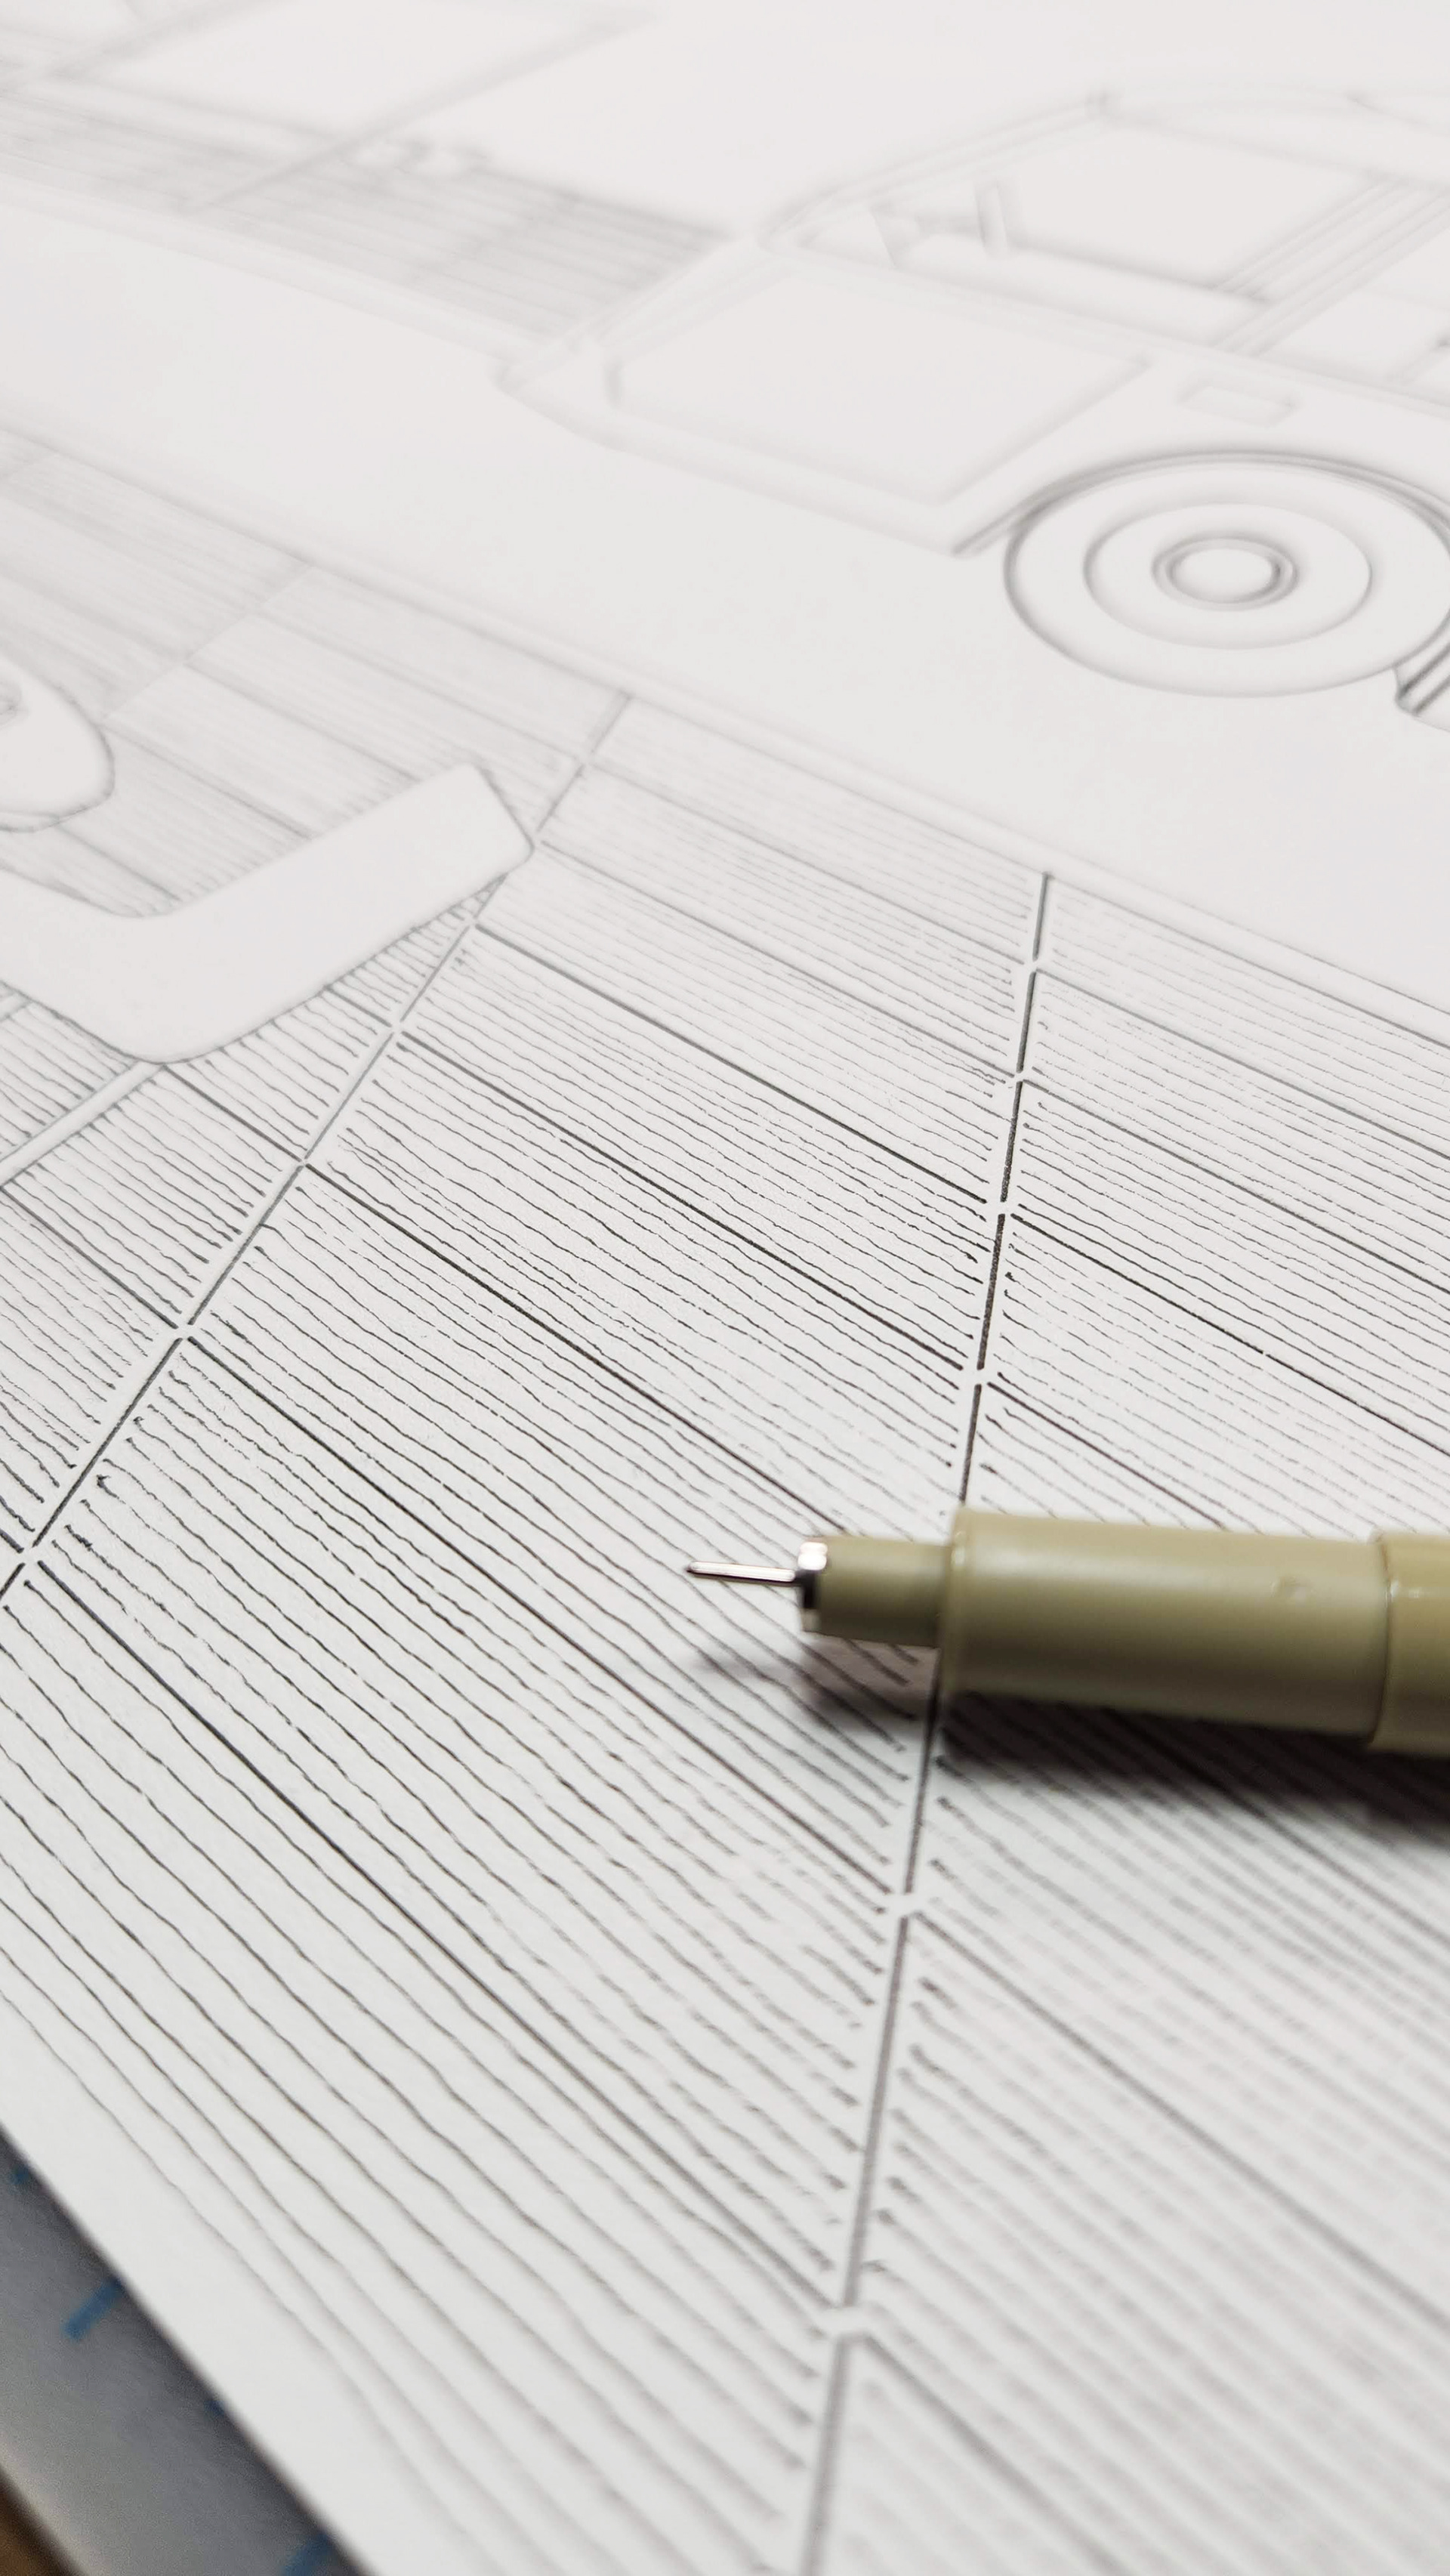
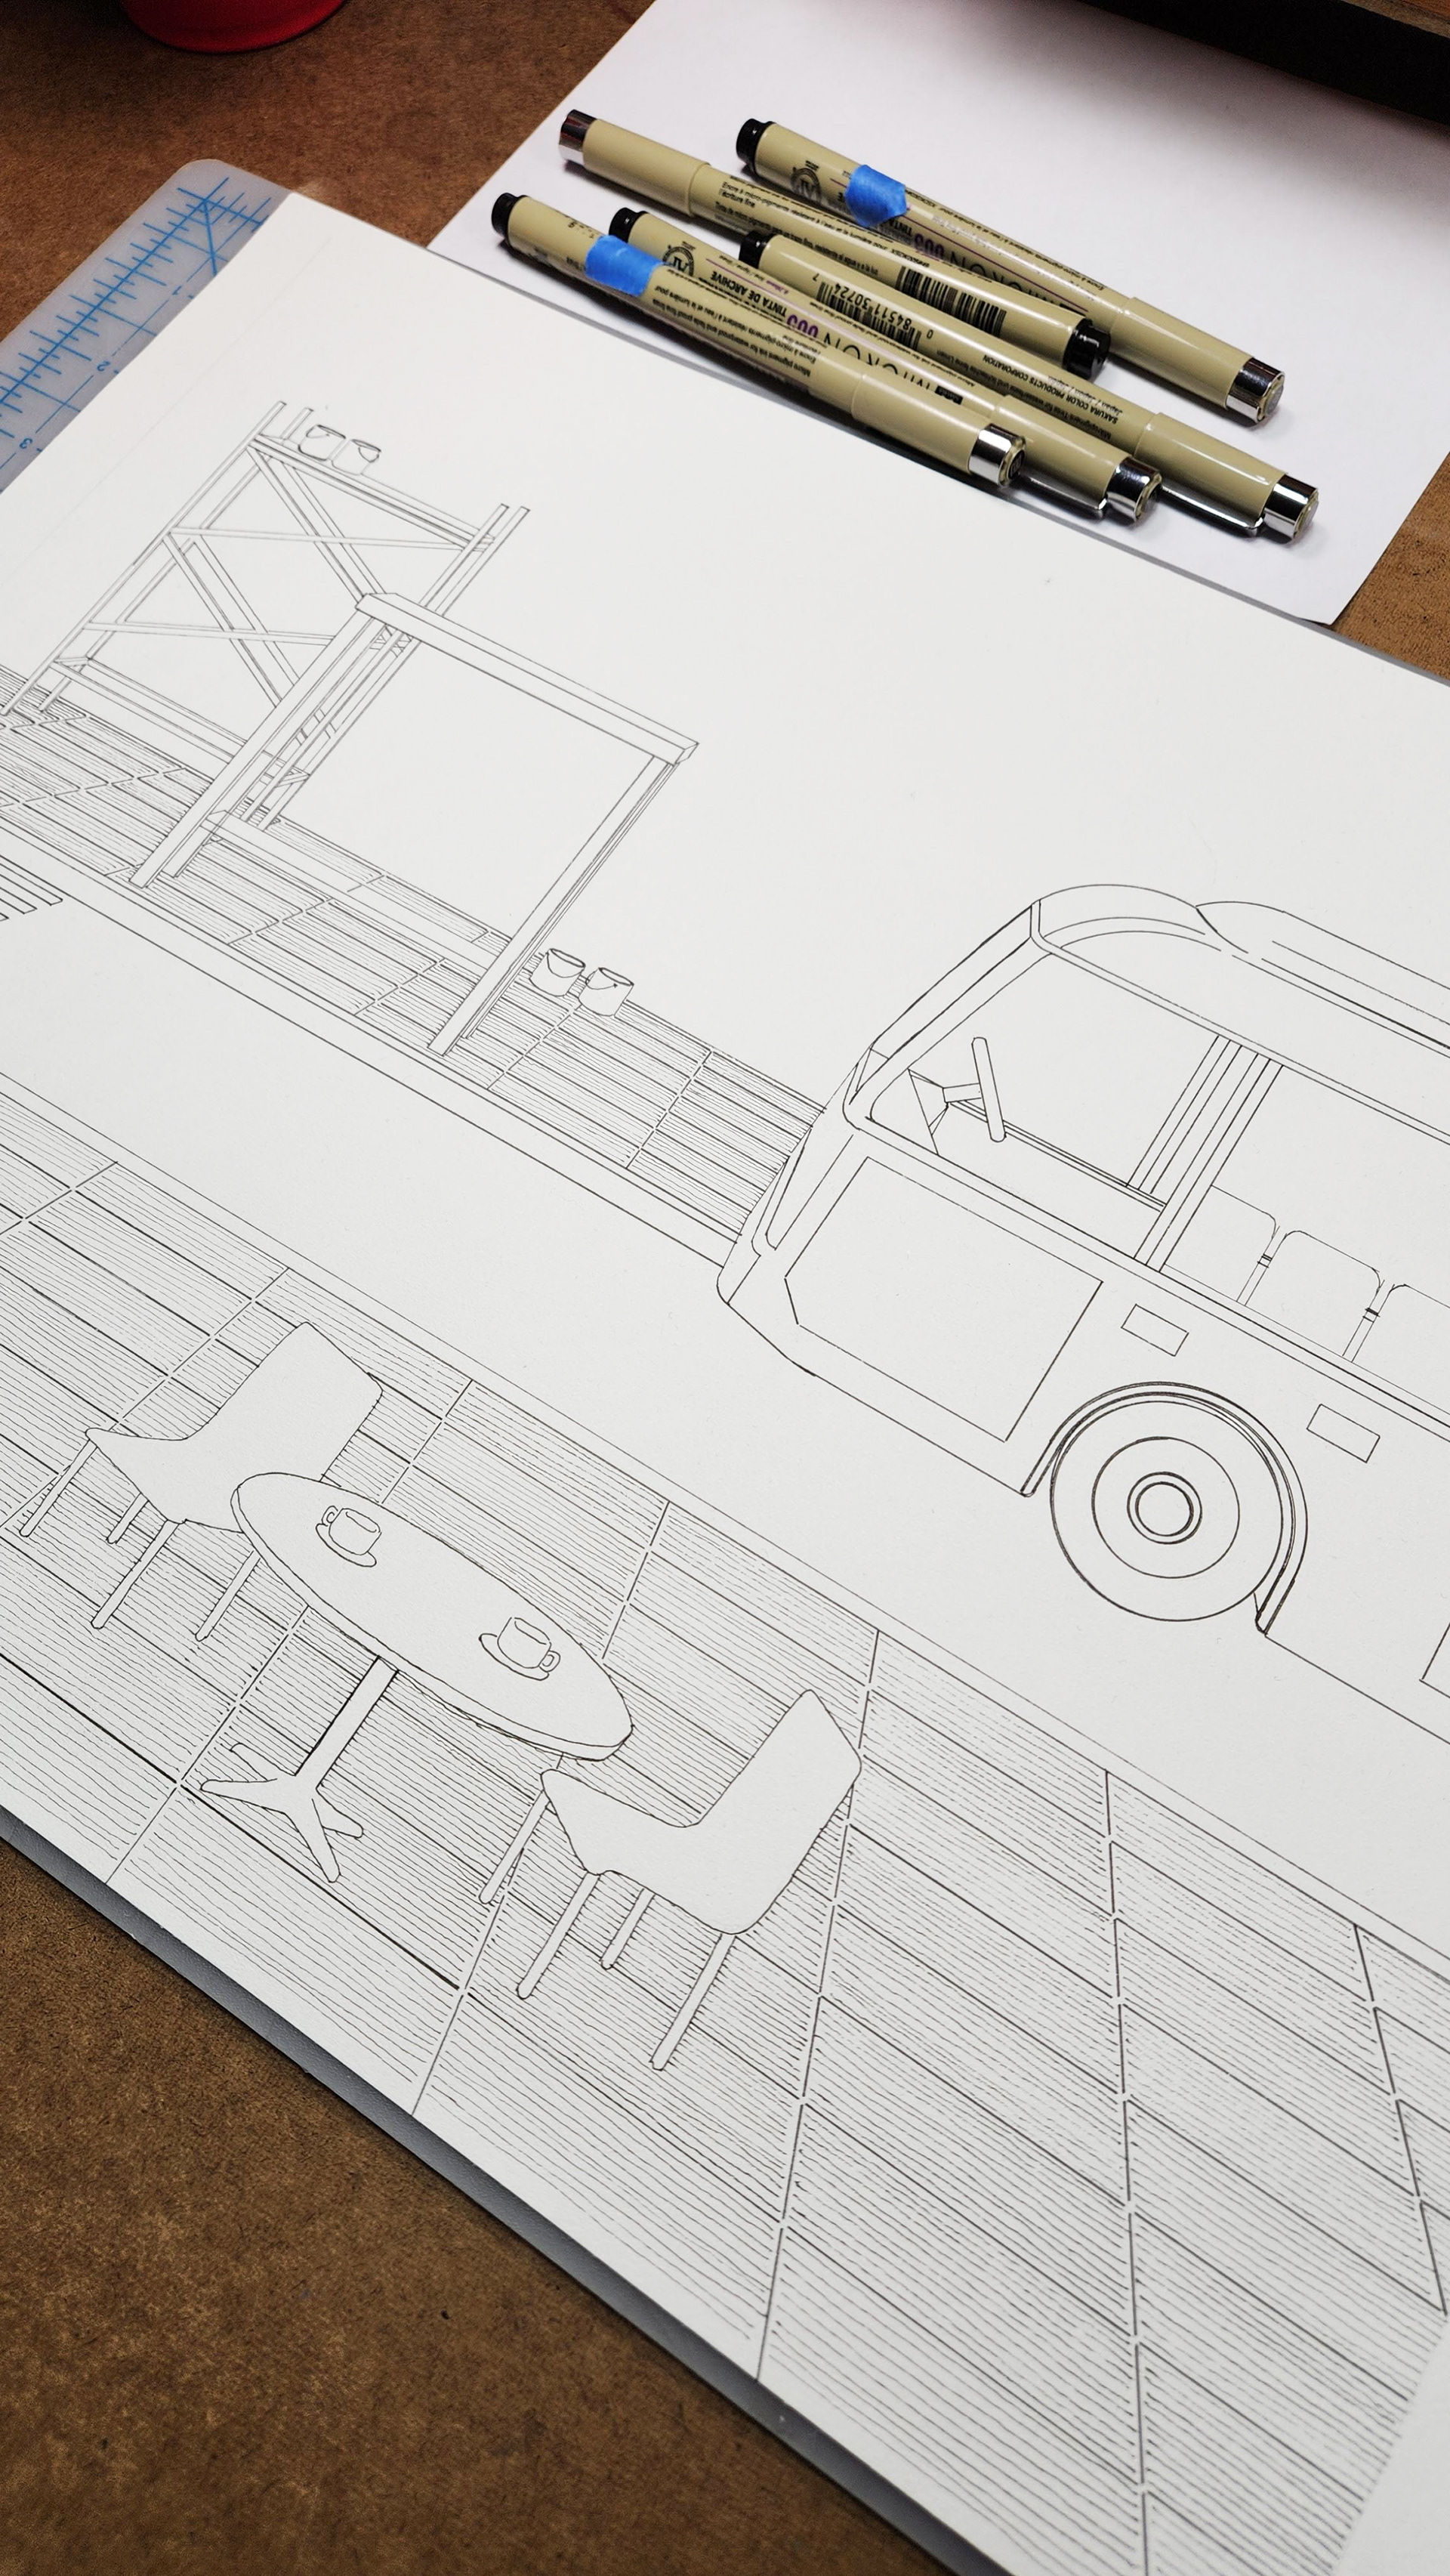
Once the final concept sketches have been selected and approved, I begin creating final pencil drawings. I typically ink over an entire scene, or render with graphite depending on the project, with characters in it, but in this case, I drew and inked the characters separately from the background just in case some modifications were needed. The inked drawings are then scanned in high resolution and cleaned up in Photoshop. (Lint and cat hair often end up on my scans.) The coloring process or digital painting was done in Photoshop. I usually end up with a file as large as several gigabytes or more with dozens of layers. The completed scene had roughly 80-100 layers, and the individual character files had dozens of layers per character. The number of Photoshop layers may sound like an overkill, but these layers can save me hours if not days of work when multiple modifications are needed later in the project.
Once the final concept sketches have been selected and approved, I begin creating final pencil drawings. I typically ink over an entire scene, or render with graphite depending on the project, with characters in it, but in this case, I drew and inked the characters separately from the background just in case some modifications were needed. The inked drawings are then scanned in high resolution and cleaned up in Photoshop. (Lint and cat hair often end up on my scans.) The coloring process or digital painting was done in Photoshop. I usually end up with a file as large as several gigabytes or more with dozens of layers. The completed scene had roughly 80-100 layers, and the individual character files had dozens of layers per character. The number of Photoshop layers may sound like an overkill, but these layers can save me hours if not days of work when multiple modifications are needed later in the project.
Ink Drawing
Ink Drawing
Ink Drawing
Ink Drawing
Ink Drawing